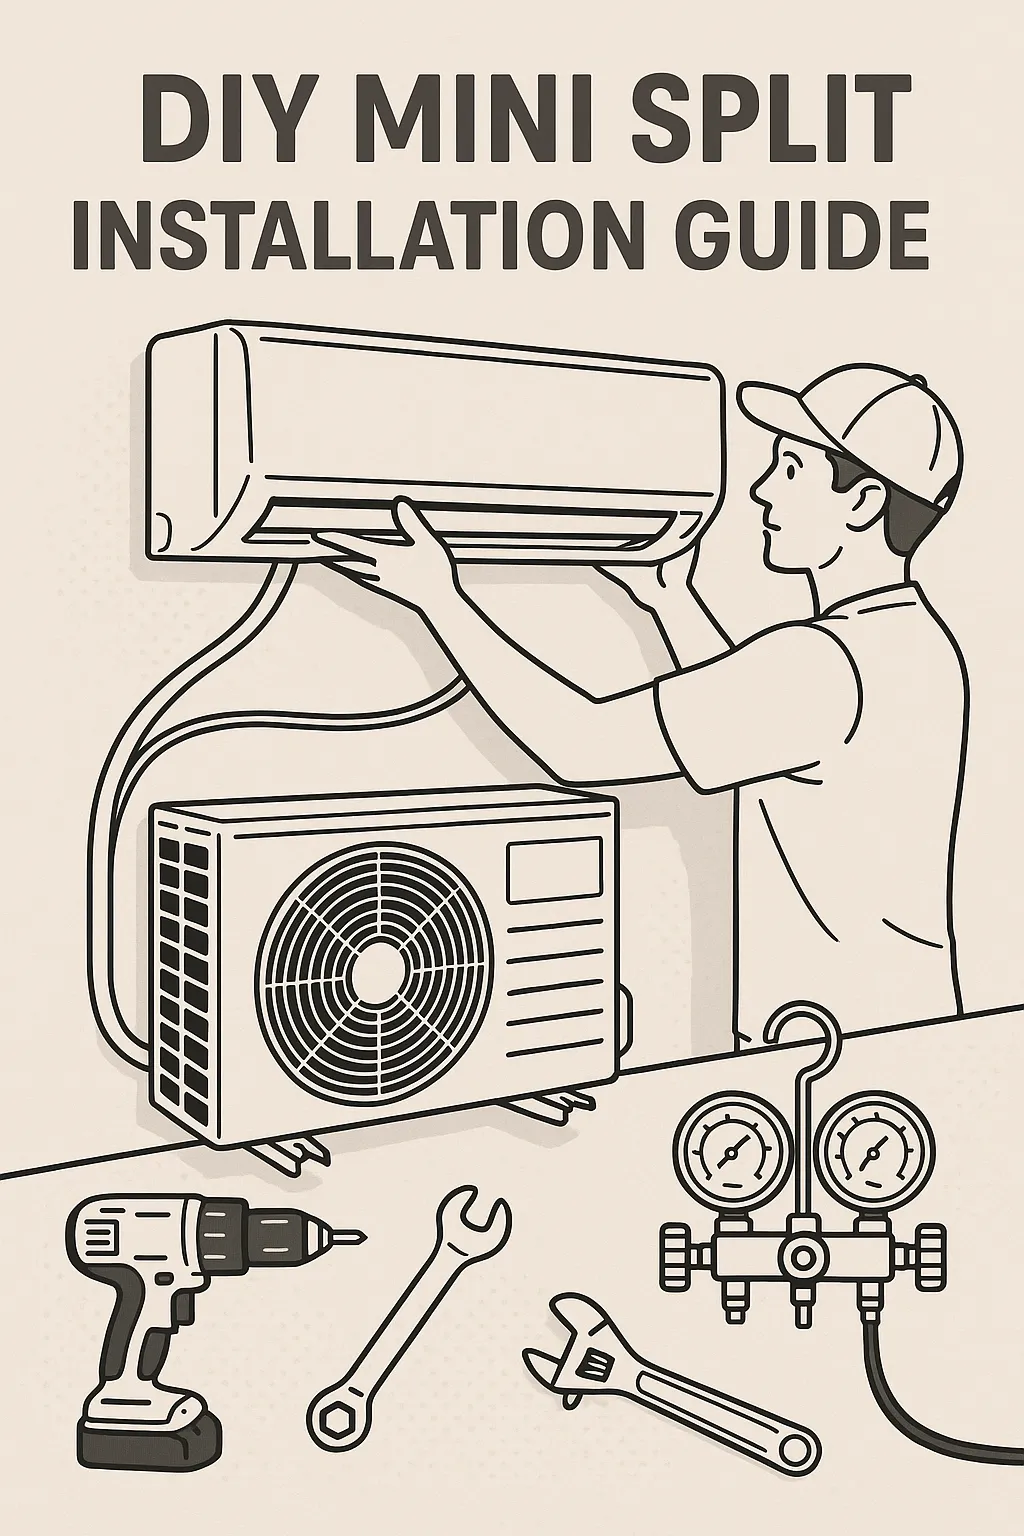

Tom installed his Zone Air mini-split in 8 hours and saved $2,600. No HVAC experience. No vacuum pump. No EPA certification. Just basic tools and a free weekend. If you're wondering how to install a mini split yourself, this guide walks you through every step.
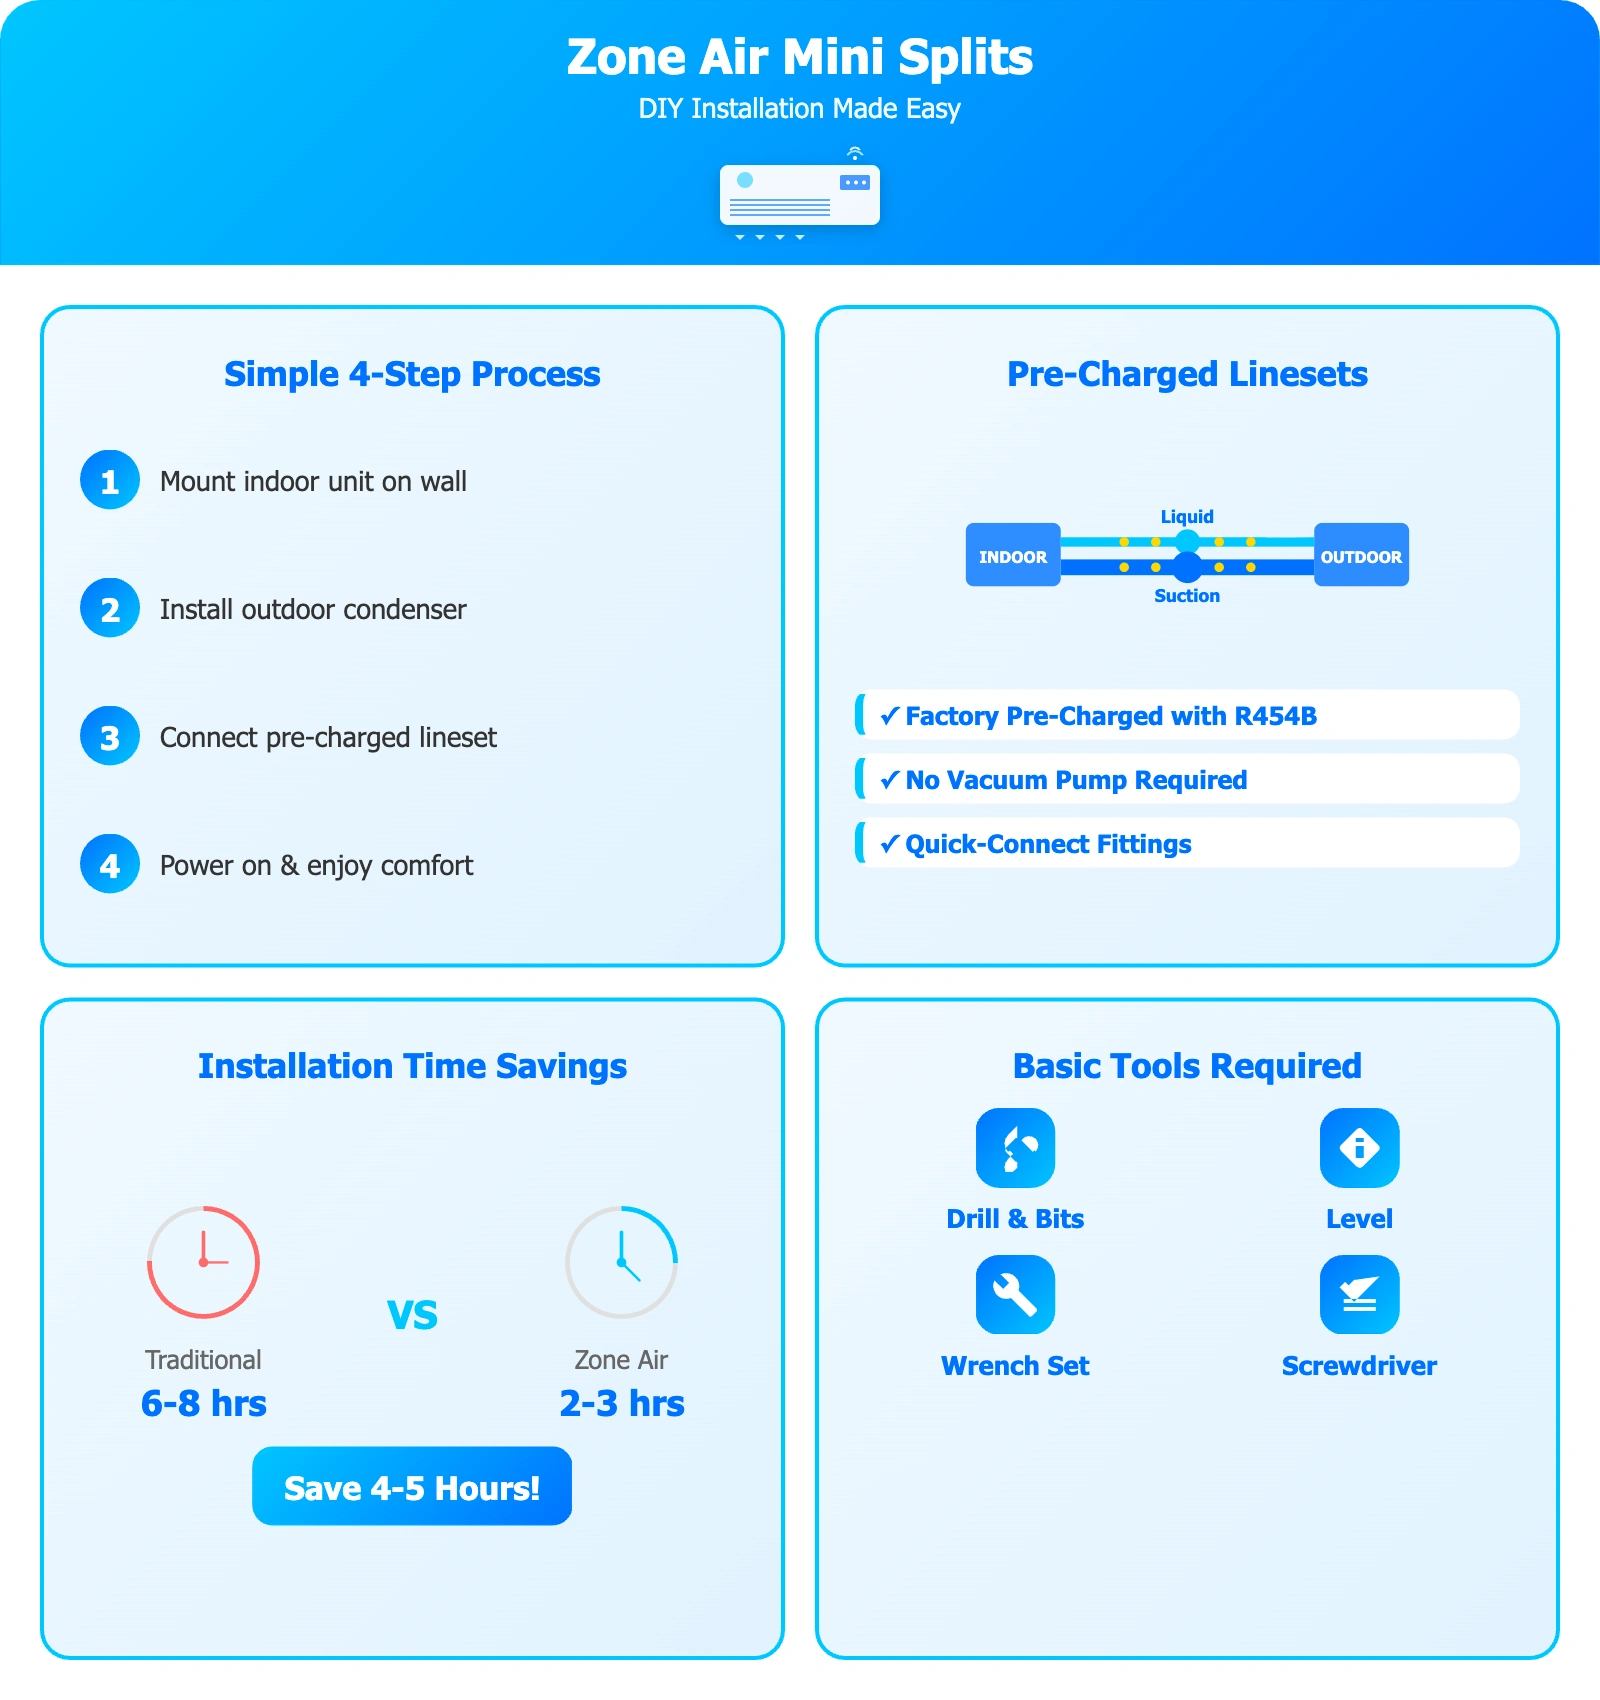
Yes, you can DIY install a mini split. Pre-charged systems eliminated the technical barriers. No EPA certification needed, no vacuum pump, no refrigerant handling. You need: basic hand tools, a drill with 3" hole saw, and 4-8 hours. The four main steps: mount the indoor unit, install the outdoor unit, connect the pre-charged line set, and wire the electrical. Average DIY savings: $1,500-$3,000 in labor costs.
Here's how you can do the same.
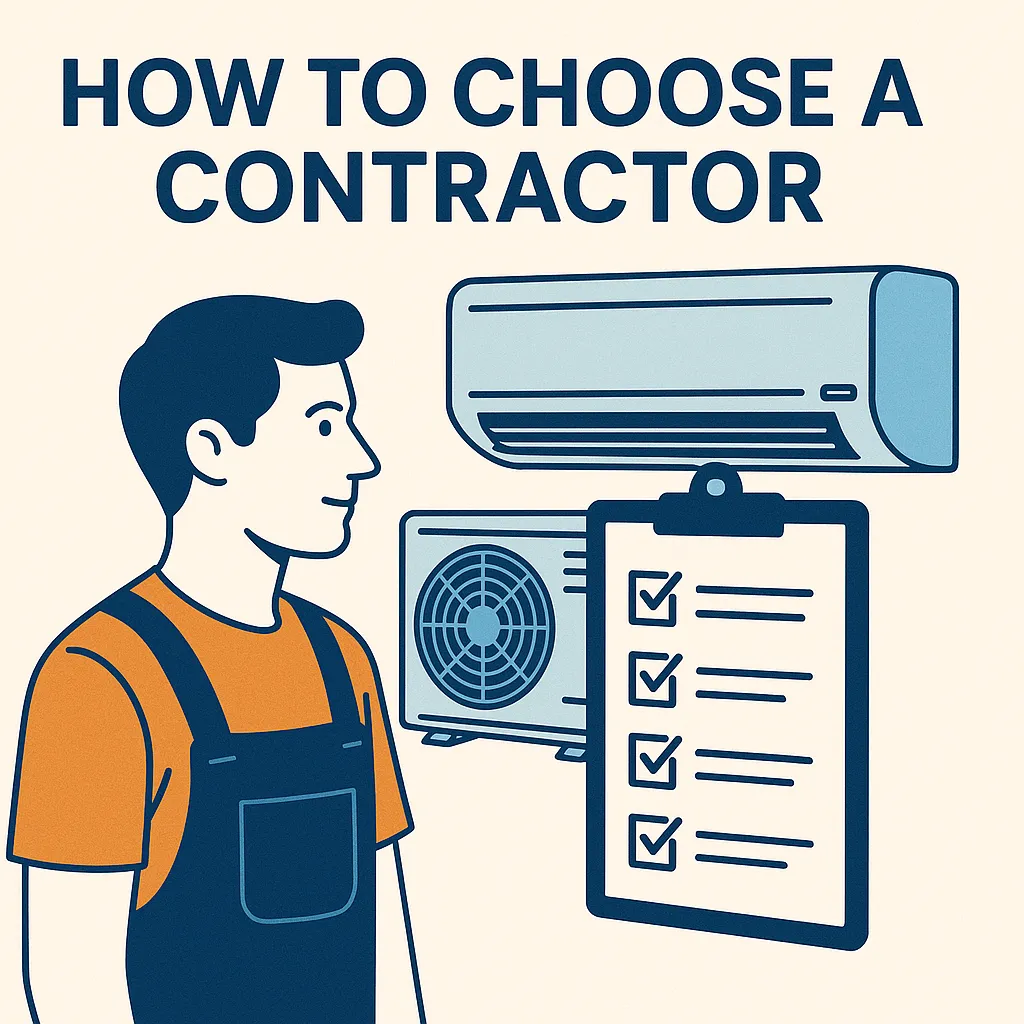
Can I Install a Mini Split Myself?
Yes. Pre-charged systems eliminated the barriers that made this professional-only work.
Old way (professional required):
- EPA 608 certification ($150-$250)
- Vacuum pump ($300-$1,500)
- Manifold gauges ($100-$300)
- Refrigerant handling knowledge
- Labor cost: $1,500-$3,000
New way (DIY-friendly):
- Pre-charged linesets (refrigerant sealed at factory)
- Basic hand tools you already own
- No certifications needed
- No vacuum pump
- Time: 4-8 hours
- Save: $1,500-$3,000
Are You Ready? (Quick Self-Assessment)
✅ You can DIY if you've:
- Drilled holes through exterior walls
- Installed ceiling fans or light fixtures
- Followed detailed instructions
- Can lift 50-80 lbs with a helper
- Comfortable on ladders
❌ Hire a pro if you:
- Have never done electrical work
- Uncomfortable with heights
- Installing 3+ zones
- Local codes require licensed contractor
Tools You Need (Most You Already Own)
Essential:
- Power drill + 3" hole saw
- Level (48" recommended)
- Screwdriver set
- Adjustable wrench
- Tape measure
- Stud finder
- Safety glasses, gloves
Nice to Have:
- Vacuum (for cleanup)
- Laser level
- Ladder
- Impact driver
- Hammer drill (concrete/brick)
Included with Zone Air:
- Indoor unit
- Outdoor unit
- Pre-charged 16ft lineset
- Mounting bracket
- Hardware
- Remote
- Instructions
May Need to Buy ($50-$400):
- Line extension (if >16ft apart)
- Concrete pad/pavers ($20-$80)
- Electrical wire/breaker ($50-$150)
- Caulk/sealant ($10-$20)
Pre-Installation Planning (Do This First!)
1. Unit Placement
Indoor unit:
- On exterior wall (shorter line run)
- 7-8 ft above floor
- 6" clearance from ceiling
- Away from direct sunlight
- Not above beds/electronics
Outdoor unit:
- Level surface (concrete pad ideal)
- Shaded if possible
- 12" clearance all sides
- Easy access for maintenance
- Away from bedroom windows
2. Electrical Check
- 9K-12K BTU: 115V, 15-20 amp circuit — standard outlet, may use existing circuit
- 18K BTU+: 208-230V, 20-30 amp circuit — like dryer/range, new circuit costs $300-$600 if needed
3. Permits
Call your local building department: "Do I need a permit for mini-split installation?"
Typical cost: $50-$200 Time: 5-minute phone call
📋 Visual Guide: Interactive installation infographic - complete visual overview
Mini Split Installation Step by Step
Step 1: Mount Indoor Bracket (30-60 min)
- Find studs with stud finder, mark locations
- Measure 7-8 ft up from floor
- Level - Mark perfectly horizontal line (critical!)
- Use template - Mark screw holes
- Drill pilot holes - Into studs (or use heavy-duty anchors)
- Mount bracket - Start all screws, verify level, then tighten
- Pull-test - Bracket must hold 30-50 lbs without flexing
⚠️ Common mistakes: Not level = drainage problems. Missing studs = sagging.
Step 2: Drill Wall Hole (15-30 min)
- Mark location behind indoor unit, slightly lower than unit bottom
- Check for wires/pipes behind wall (stud finder)
- Drill with 3" hole saw - Inside to outside, slow and steady
- Angle downward - 1/4" drop per foot toward outside
⚠️ Critical: Downward slope prevents water from draining into your wall!
Step 3: Install Outdoor Unit (45-90 min)
Ground mount (recommended):
- Place concrete pad/pavers (3-6" above ground)
- Verify perfectly level
- Position unit with 12" clearance all sides
- Secure to pad (or anti-vibration feet)
Wall mount:
- Install bracket (hit studs, verify level)
- Attach unit to bracket
- Verify level
Step 4: Connect the Line Set (30-60 min)
There are two installation paths depending on the system you bought. Pre-charged systems (Zone Air and similar) use sealed quick-connect fittings — no vacuum pump or refrigerant work required. Traditional flared systems require flaring, nitrogen pressure testing, and evacuation, and EPA Section 608 certification is required to release the factory charge. Pick the path that matches your hardware.
Path A: Pre-charged quick-connect (Zone Air, MrCool DIY, etc.)
- Uncoil the line set carefully. No kinks — restricted refrigerant flow kills capacity. Use gentle 4" minimum bend radius.
- Feed through the wall hole, low side first.
- Hand-tighten both fittings at the indoor unit until snug.
- Torque to spec with a calibrated torque wrench:
| Line size | Torque (N·m) | Torque (ft-lb) | |-----------|--------------|----------------| | 1/4" (6.35 mm) | 14-18 | 10-13 | | 3/8" (9.52 mm) | 33-42 | 24-31 | | 1/2" (12.7 mm) | 50-62 | 37-46 | | 5/8" (15.88 mm) | 63-77 | 47-57 |
- Repeat at the outdoor unit. Open the service valves with a hex key only after both ends are torqued.
- Seal the wall penetration with foam backer rod and exterior-grade silicone or polyurethane caulk.
⚠️ Over-torqueing is the #1 DIY failure mode. It crushes the brass flare and creates a slow refrigerant leak that takes weeks to show up as warm air. Use a torque wrench, not a "feels tight" wrench.
💡 Why pre-charged saves 1-2 hours and $650-$2,350 in tools: no manifold gauge set, no vacuum pump, no nitrogen tank or regulator, no recovery cylinder.
Path B: Traditional flared install (most non-DIY systems)
This path is what HVAC techs do. EPA 608 cert is required because you handle refrigerant. If your system shipped without a sealed pre-charge, you're on this path.
- Cut and deburr the line ends square. Remove every burr — burrs slice flare gaskets.
- Slide the flare nut on first (every DIYer forgets this once and has to start over).
- Flare to a 45° cone with a flaring tool. The flare face should be smooth, even, and slightly proud of the die.
- Hand-tighten, then torque to the values in the table above.
- Pressure test with dry nitrogen to 500 psi. Hold for 15 minutes minimum (ASHRAE recommends 10 minutes; manufacturers typically spec 15). Watch the gauge — any drop means a leak.
- Evacuate the system to below 500 microns with a vacuum pump and micron gauge. Hold for 15 minutes after pump-off; if it climbs above 1000 microns, you have moisture or a leak. Triple evacuation (pull, break with nitrogen, pull again) is best practice in humid conditions.
- Open the service valves to release the factory charge into the system.
- Seal the wall penetration as above.
⚠️ Skipping the pressure test or vacuum hold is the #1 reason traditional installs fail in year one. Moisture inside the lines reacts with refrigerant and oil to form acids that destroy the compressor.
Step 5: Install Drain (15-30 min)
- Attach drain hose to indoor unit
- Ensure continuous downward slope (1/4" per foot)
- Terminate outside, away from foundation
Step 6: Wire the Electrical (30-90 min)
⚠️ De-energize the circuit at the panel first and verify with a non-contact voltage tester before touching any conductor. Never trust the breaker label alone.
The unit's nameplate is the authoritative source for sizing. Look for MCA (Minimum Circuit Ampacity) and MOCP (Maximum Overcurrent Protection) — those values override every chart. The table below is a starting point.
| BTU | Voltage | Breaker | Min. Wire Gauge (Cu) | |-----|---------|---------|----------------------| | 9,000 | 115V | 15A or 20A | 14 AWG / 12 AWG | | 12,000 | 115V | 20A | 12 AWG | | 18,000 | 230V | 20A | 12 AWG | | 24,000 | 230V | 25-30A | 10 AWG | | 36,000 | 230V | 30A | 10 AWG |
NEC 240.4(D) caps 14 AWG copper at 15A and 12 AWG copper at 20A overcurrent protection. NEC 440.14 requires a disconnect within sight of the outdoor unit. NEC 110.14(C) governs terminal temperature ratings — match the conductor termination column to the lowest-rated component in the path.
115V systems (9K-12K BTU)
- Run a dedicated 12 AWG copper home run on a 20A breaker (or 14 AWG / 15A for the smallest 9k units).
- Many 115V systems plug into a 5-15R or 5-20R receptacle near the indoor unit — verify the cord and plug match your receptacle.
- Land the inter-unit communication cable per the manufacturer's color-coded diagram. Reversing 1↔2 throws a comm fault but causes no damage.
208-230V systems (18K+ BTU)
- Install a fused or non-fused disconnect within sight of the outdoor unit (NEC 440.14). Even on a dedicated circuit, this is required.
- Run a flexible liquid-tight whip from the disconnect to the unit's electrical compartment.
- Pull copper THHN/THWN-2 conductors per the table. For 30A circuits, 10 AWG copper.
- Land L1, L2, and equipment ground per the wiring diagram on the inside of the access panel.
- Torque every terminal screw to the value stamped on the unit — typically 1.4-2.0 N·m for terminal block screws. Loose terminations are the #1 cause of arcing and unit-board failure within the first year. A torque screwdriver is $30 well spent.
- Bond the equipment ground to the green grounding screw on the metal cabinet.
- Run the inter-unit comm cable; match colors exactly.
⚠️ Hire a licensed electrician if the work involves: a panel-side breaker change, fishing a new home-run through finished walls, or anything requiring a permit and inspection in your jurisdiction. Expect $200-$600 for a single 230V circuit installed.
Step 7: Hang Indoor Unit (5-10 min)
- Verify all connections complete
- Carefully lift unit onto bracket
- Hook into bracket clips
- Verify secure
- Tuck lines/wires neatly behind unit
Step 8: Test and Start System (15-30 min)
-
Final Inspection
- All electrical connections tight
- Drain sloped properly
- Wall penetrations sealed
- Outdoor unit level and secure
-
Power On
- Turn on breaker
- Indoor unit should power up
- Display will light up
-
Initial Test Run
- Set to cooling mode
- Set temperature 5°F below room temp
- Should hear compressor start within minutes
- Feel for cold air from indoor unit (within 5-10 min)
-
Check for Issues
- No unusual noises
- No water leaks
- Good airflow from indoor unit
- Outdoor fan spinning
- Lines to outdoor unit should get cold (suction line)
-
Test All Modes
- Cool mode
- Heat mode
- Fan only
- Dehumidify (if available)
- All settings on remote
Common DIY Mistakes and How to Avoid Them
Mistake #1: Indoor Unit Not Level
- Problem: Condensate won't drain, will leak into home
- Solution: Use long level, adjust mounting bracket
Mistake #2: Wall Hole Sloped Wrong Direction
- Problem: Water runs back into wall
- Solution: Drill with slight downward angle toward outside
Mistake #3: Kinked or Bent Linesets
- Problem: Restricts refrigerant flow, reduces efficiency
- Solution: Route carefully, use gradual curves only
Mistake #4: Over-Tightening Connections
- Problem: Damages flares, causes leaks
- Solution: Hand-tight plus 1/4-1/2 turn with wrench
Mistake #5: Poor Wall Sealing
- Problem: Air and water infiltration, energy loss
- Solution: Use foam backer rod plus quality exterior caulk
Mistake #6: Insufficient Outdoor Clearance
- Problem: Reduced efficiency, overheating
- Solution: Maintain 12" minimum all sides, 4 ft front
Mistake #7: Not Testing Before Buttoning Up
- Problem: Have to tear apart finished work to fix issue
- Solution: Test thoroughly before final sealing and finishing
Post-Installation
First 24 Hours:
- Run system several hours
- Monitor for leaks
- Listen for unusual sounds
- Verify all modes work
- Check temperature accuracy
First Week:
- Monitor energy usage
- Test remote functions
- Adjust vents for optimal airflow
- Note any issues for warranty registration
Register Warranty:
- Complete within 30-60 days usually
- Requires proof of purchase
- Photos of installation sometimes required
- Activates full manufacturer warranty
Schedule Annual Maintenance:
- First service at 6-12 months
- Professional inspection recommended
- Checks refrigerant levels
- Cleans components
- Verifies optimal operation
DIY Installation: Costs vs. Savings
Total DIY Costs:
- Zone Air 12K system: $2,189
- Tools (if buying all): $200
- Additional materials: $100
- Electrical (if DIY): $50
- Total: $2,539
Professional Installation:
- Same equipment: $2,500
- Professional install: $2,500
- Permits/fees: $150
- Total: $5,150
Your Savings: $2,611
Time Investment:
- Research/planning: 2-4 hours
- Installation: 4-8 hours
- Total: 6-12 hours
Hourly Savings Rate: $217-$435/hour of your time
When to Call for Help
Even DIYers sometimes need assistance. Call a professional if:
Electrical Issues:
- Need panel upgrade (>$500 job)
- Not comfortable with 230V work
- Can't identify correct circuit
Structural Concerns:
- Brick/stone wall drilling
- Can't locate studs
- Wall concerns (plumbing, wiring)
Technical Problems:
- System not cooling after installation
- Refrigerant leak suspected
- Electrical components not working
Safety First: If you're unsure, ask a pro. Zone Air offers live technical support (9–5 MST).
Resources and Support
Zone Air Installation Support:
- Live technical support hotline (9–5 MST)
- Video installation guides
- Live chat assistance
- Email support with photos
- Community forum
Recommended Reading:
- Full installation manual (included)
- Online video series
- Sizing guide for BTU selection
- Electrical code basics
Is DIY Installation Right for You?
You're a Good Candidate If:
- Comfortable with basic tools
- Have successfully completed other DIY projects
- Can follow detailed instructions
- Have a helper available for heavy lifting
- Want to save $1,500-$3,000
Consider Professional If:
- No DIY experience
- Uncomfortable on ladders
- Uncertain about electrical work
- Complex installation (multi-story, commercial)
- Time-constrained
Frequently Asked Questions
Do I need a permit to install a mini-split myself?
It depends on location. Many areas exempt mini-splits (especially under 36,000 BTU) from permits, but some require electrical permits for new circuits. Call your building department and ask: "Do I need a permit to install a ductless mini-split?" and "Do I need an electrical permit?" Permit costs run $50-$200. Getting permits (when required) protects home value and insurance coverage.
How long does DIY mini-split installation really take?
First-time: 6-10 hours. Most complete single-zone installations in one Saturday. Time breakdown: indoor bracket (30-60 min), wall penetration (15-90 min depending on material), outdoor unit (45-90 min), linesets (30-60 min), electrical (30-120 min), testing (15-30 min). Second installations go faster (4-6 hours) once you know the process. Multi-zone systems: 14-18 hours total, or 5-6 hours per zone.
Do I need EPA certification to install a mini-split with pre-charged lines?
No. Pre-charged systems require no EPA Section 608 certification because you never open the refrigerant circuit or handle refrigerants directly. You're assembling pre-charged components (like connecting a window AC unit), not performing refrigerant work. Traditional installations require certification because technicians vacuum-evacuate lines, add refrigerant charges, and check pressures. With pre-charged linesets, you skip all refrigerant handling entirely.
Can I install a mini-split if I'm not an electrician?
Yes, if comfortable with basic electrical. 9K-12K BTU units use standard 115V outlets (like ceiling fan complexity). 18K+ units need 230V circuits (like dryer outlets)—more complex but DIYable if experienced with 240V work. Hybrid option: Hire electrician for new 230V circuit ($300-$600) while you handle mechanical installation—saves $1,200-$1,800 vs. full professional install. Check local codes; some require licensed electricians.
What's the hardest part of DIY mini-split installation?
Mentally: Overcoming intimidation. Physically: drilling the 3" wall penetration (irreversible, must angle downward, avoid studs/wires). Wood walls: 15-30 minutes. Masonry: 45-90 minutes with hammer drill ($100-200 to hire for this step alone). Second challenge: lifting 60-100 lb outdoor unit (requires helper for wall-mounts; ground-mounts easier). Electrical/linesets prove easier than expected—color-coded diagrams and straightforward connections.
Will installing it myself void the warranty?
No—if you register within 30-60 days and follow instructions. Zone Air covers DIY installations with a 7-year compressor warranty and 5-year parts warranty. Unlike premium brands requiring certified dealer installation, Zone Air supports direct-to-consumer DIY. Warranty excludes installation damage (wrong drill angle, over-tightened connections, etc.) whether DIY or pro-installed. Keep installation photos and registration confirmation. Follow instructions carefully and warranty remains valid.
Do I really save money installing myself or should I hire a pro?
Yes—save $1,500-$2,500 per zone. Professional: $3,550-$5,500 (equipment + labor + permits). DIY: $2,339-$2,439 (equipment + materials). That's $120-$500/hour for 6-10 hours work. Multi-zone savings multiply ($3,000-$5,000 for three zones). Hire pro if: zero DIY experience, uncomfortable with heights, brick/concrete walls, commercial property, or time-constrained. Hybrid option: DIY most work, hire electrician ($300-$600) or handyman for masonry drilling ($100-$200)—saves $1,000-$1,800.
Next Steps
Ready to start your DIY mini-split installation? You've now learned that you can install a ductless AC yourself with the right system and basic tools.
- Choose Your System: Browse our product lineup
- Size Correctly: Use our sizing calculator
- Gather Tools: Review tools list above
- Watch Videos: Check our installation video series
- Order Equipment: Get everything delivered in 3-5 days
Questions? Our technical team is available 9–5 MST to guide you through your DIY installation.
Save $1,500-$3,000 by installing yourself with Zone Air's DIY-friendly systems.