
Self Install Mini Splits
Shop 9,000–36,000 BTU wall-mount mini splits to install yourself, single- through 3-zone. Below the catalog: the six-step sequence, the tools, how long it takes, and what first-timers get wrong.
Single-Zone Systems
One indoor unit, one outdoor unit — for a single room.
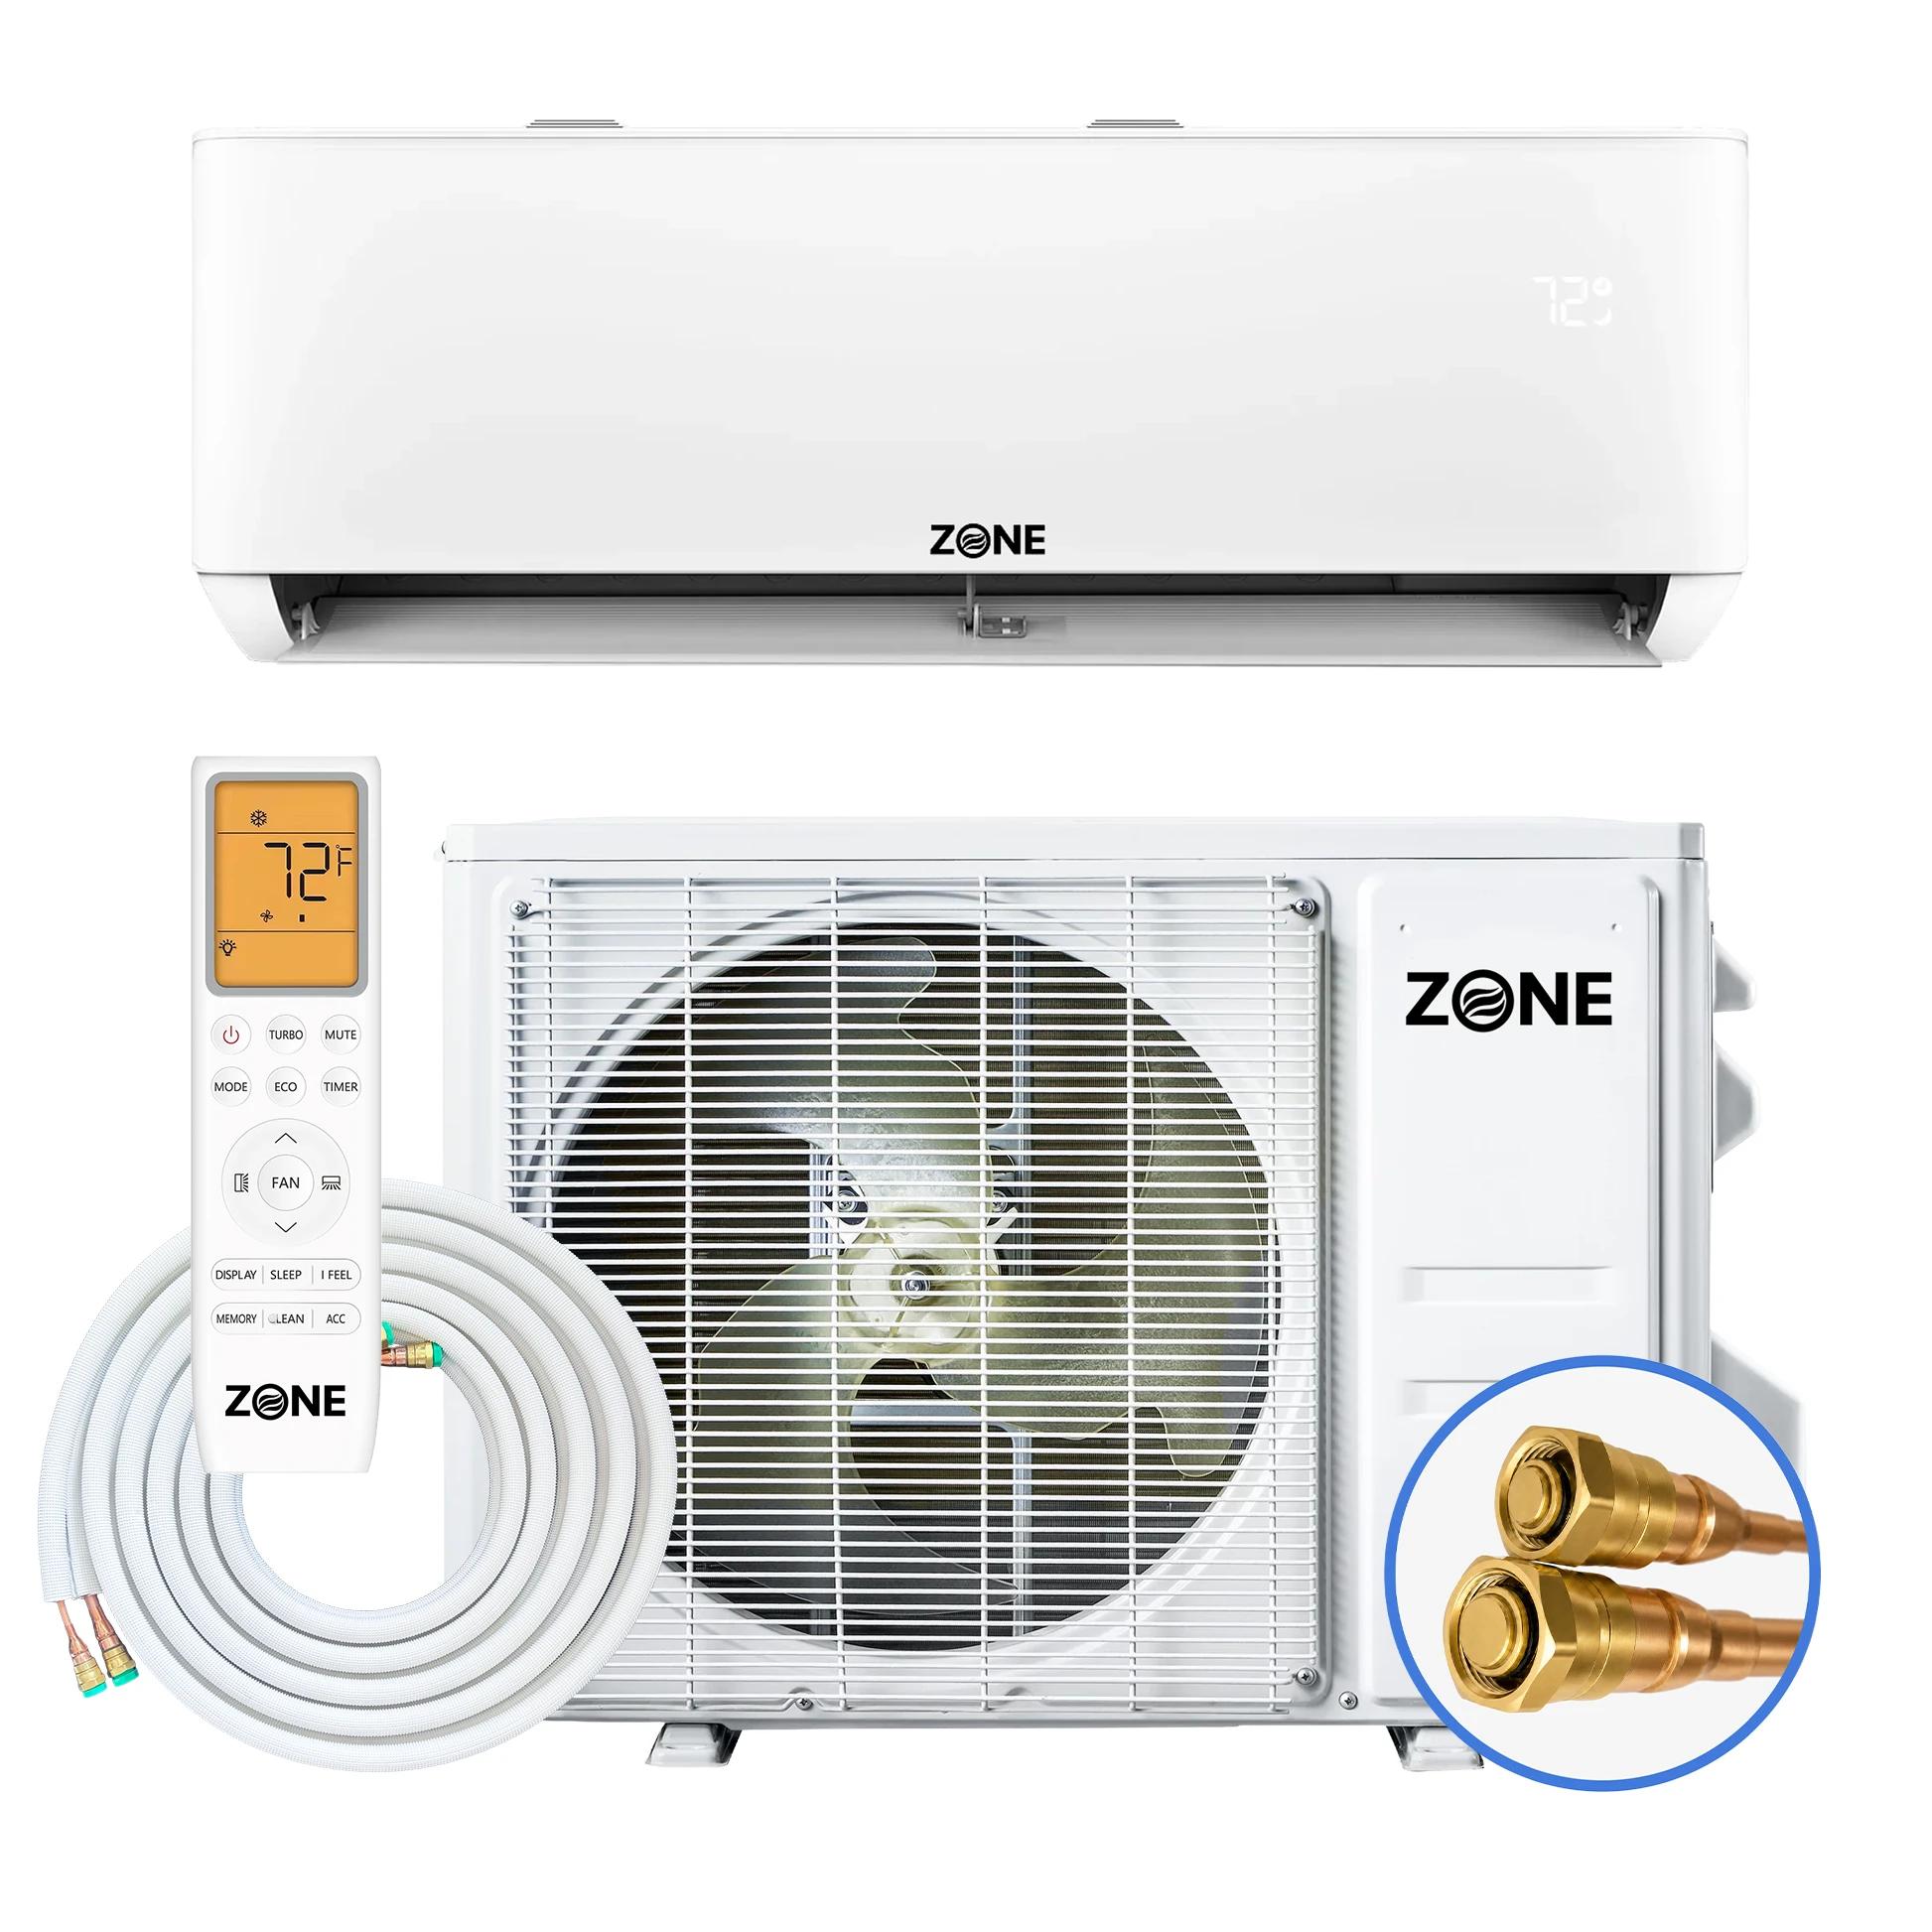
Zone Air™ DIY 9,000 BTU 23 SEER2 115V Wall Mount Ductless Mini-Split Heat Pump AC & Heater with Pre-Charged Lineset - Up to 450 Sq Ft
Zone Air™ DIY 12,000 BTU 23 SEER2 115V Wall Mount Ductless Mini-Split Heat Pump AC & Heater with Pre-Charged Lineset - Up to 600 Sq Ft
Zone Air™ DIY 18,000 BTU 23 SEER2 230V Wall Mount Ductless Mini-Split Heat Pump AC & Heater with Pre-Charged Lineset - Up to 900 Sq Ft
Zone Air™ DIY 9,000 BTU 24 SEER2 230V Wall Mount Ductless Mini-Split Heat Pump AC & Heater with Pre-Charged Lineset - Up to 450 Sq Ft
Zone Air™ DIY 12,000 BTU 24 SEER2 230V Wall Mount Ductless Mini-Split Heat Pump AC & Heater with Pre-Charged Lineset - Up to 600 Sq Ft
Dual-Zone Systems
Two indoor heads sharing one outdoor condenser — cool/heat two rooms with one system.
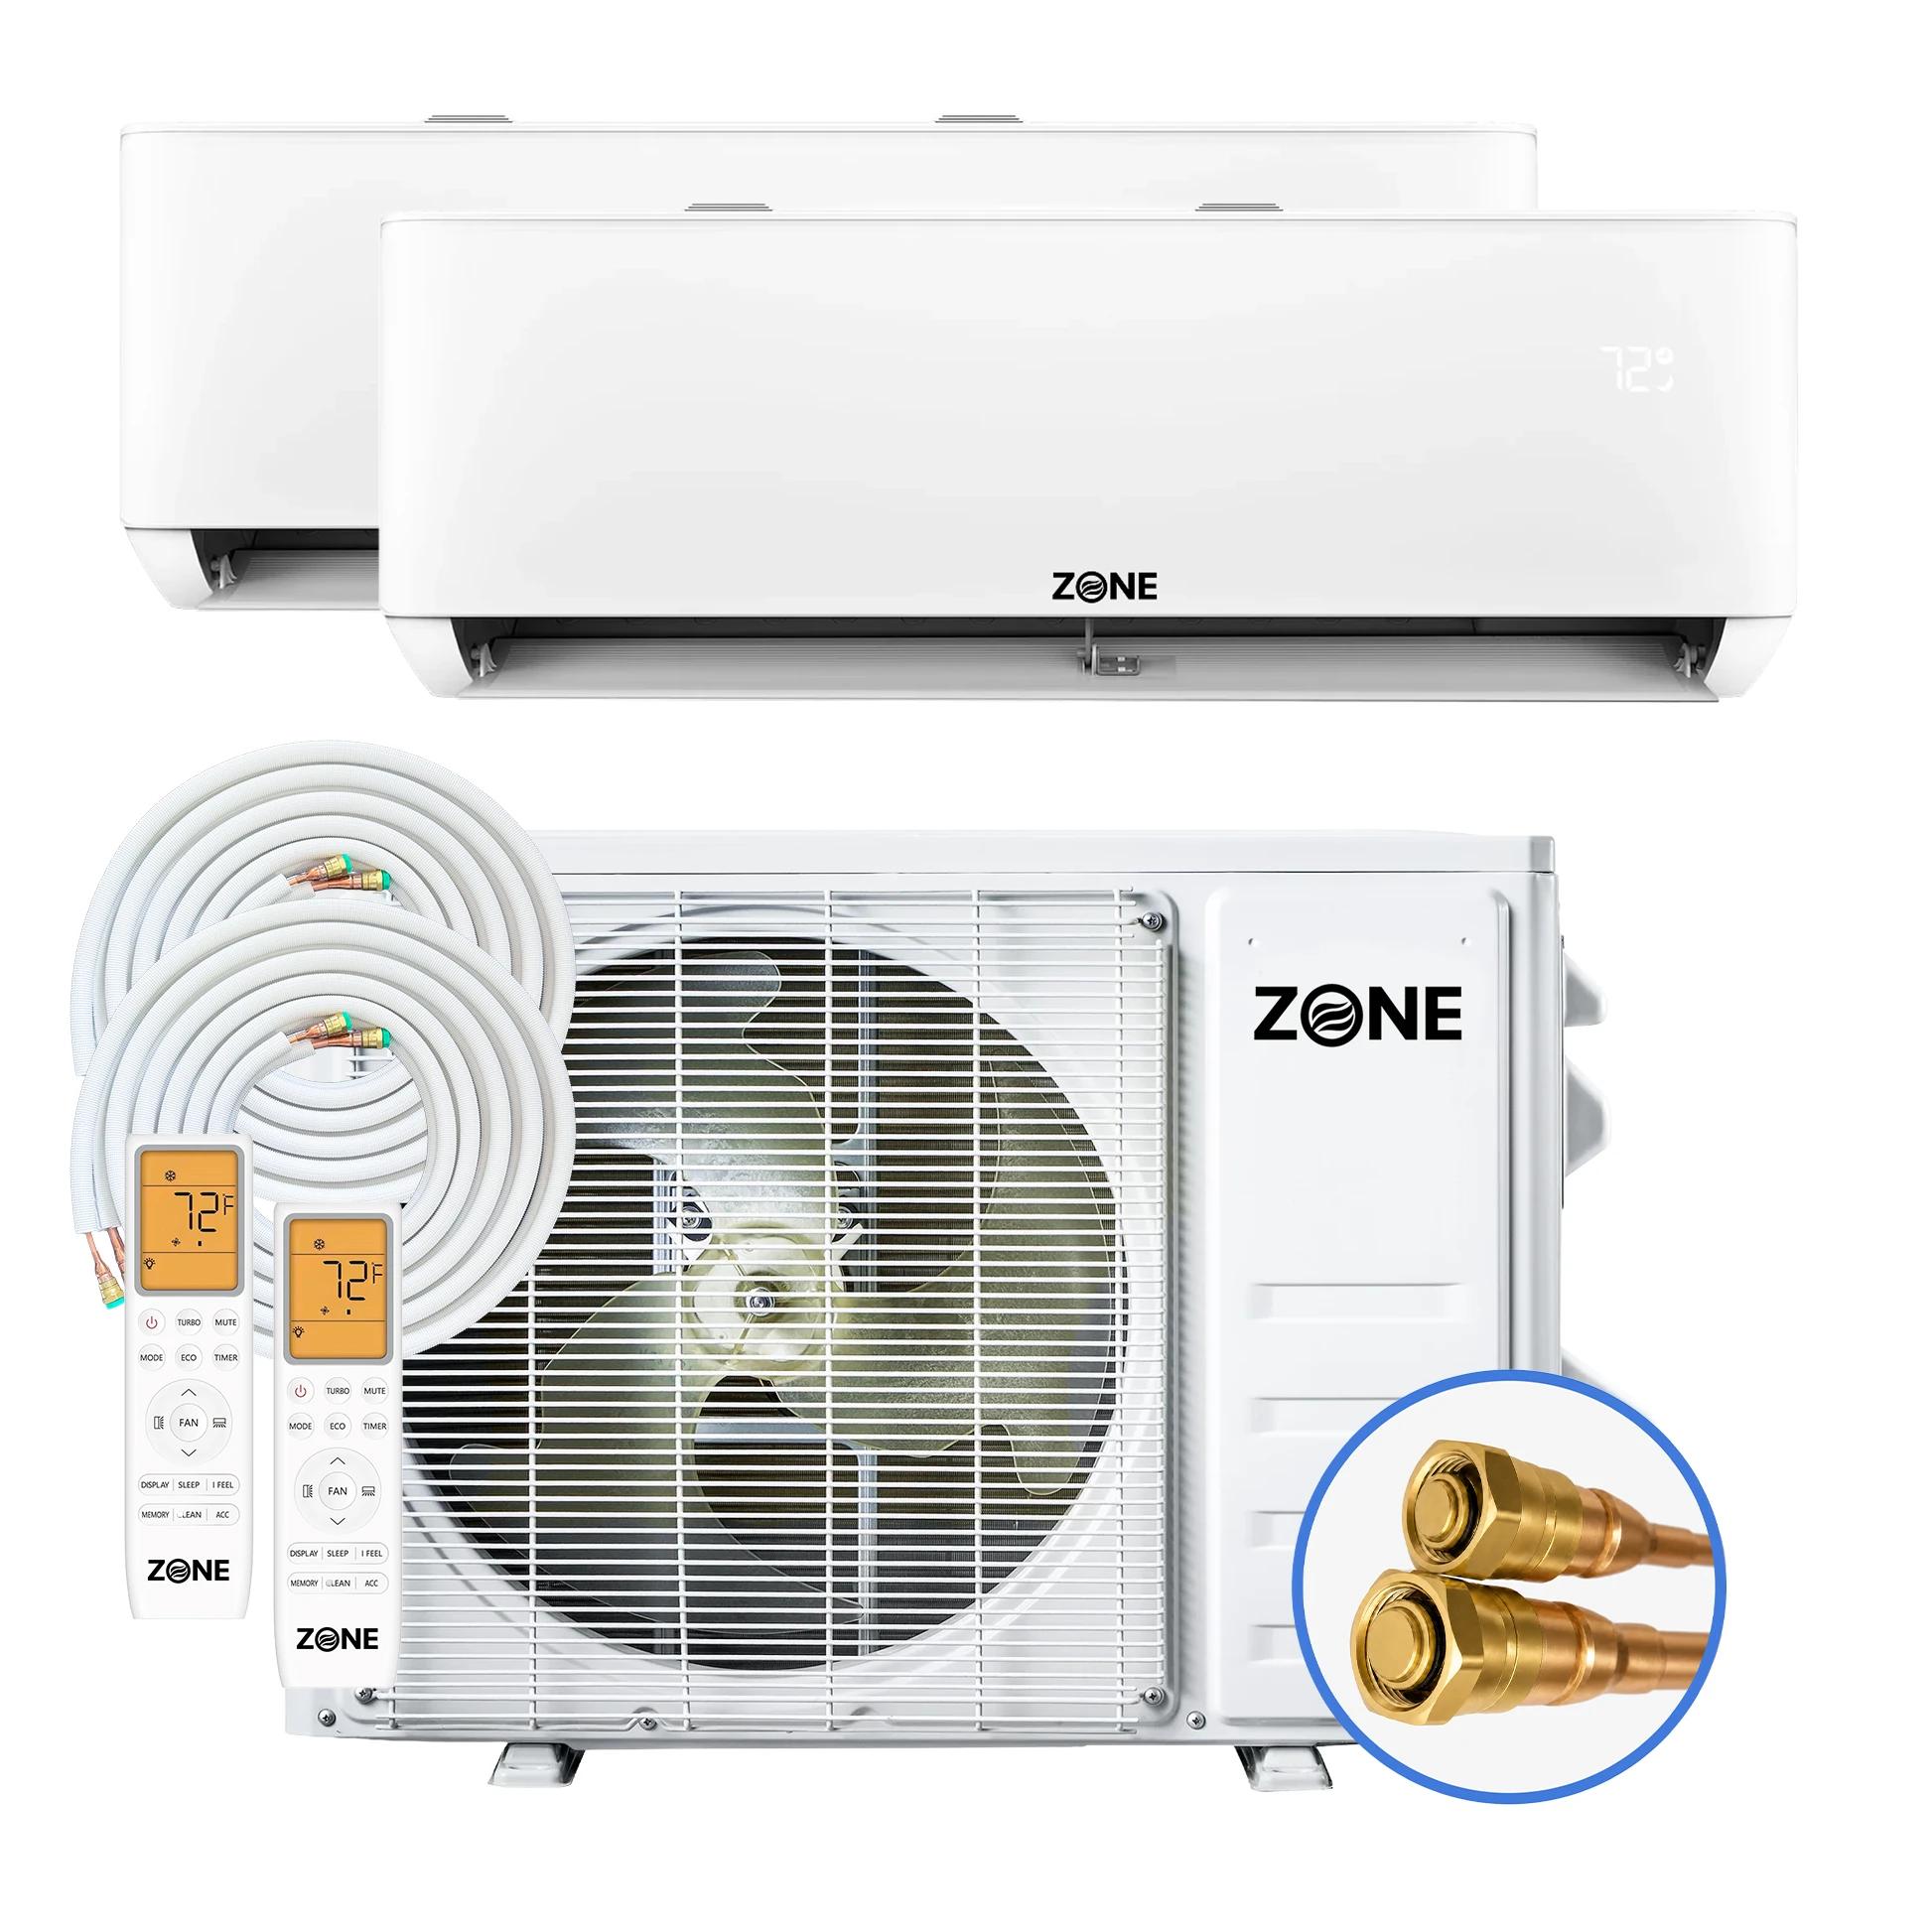
Zone Air™ DIY DUAL ZONE 24,000 BTU (12K+12K) 24 SEER2 230V Wall Mount Ductless Mini-Split Heat Pump System - Up to 1,200 Sq Ft
Zone Air™ DIY DUAL ZONE 21,000 BTU (12K+9K) 24 SEER2 230V Wall Mount Ductless Mini-Split Heat Pump System - Up to 1,050 Sq Ft
Zone Air™ DIY DUAL ZONE 18,000 BTU (9K+9K) 24 SEER2 230V Wall Mount Ductless Mini-Split Heat Pump System - Up to 900 Sq Ft
Zone Air™ DIY DUAL ZONE 30,000 BTU (12K+18K) 24 SEER2 230V Wall Mount Ductless Mini-Split Heat Pump System - Up to 1,500 Sq Ft
Zone Air™ DIY DUAL ZONE 27,000 BTU (9K+18K) 24 SEER2 230V Wall Mount Ductless Mini-Split Heat Pump System - Up to 1,350 Sq Ft
Zone Air™ DIY DUAL ZONE 36,000 BTU (18K+18K) 24 SEER2 230V Wall Mount Ductless Mini-Split Heat Pump System - Up to 1,800 Sq Ft
Three-Zone Systems
Three indoor heads sharing one outdoor condenser — independent comfort in three rooms.
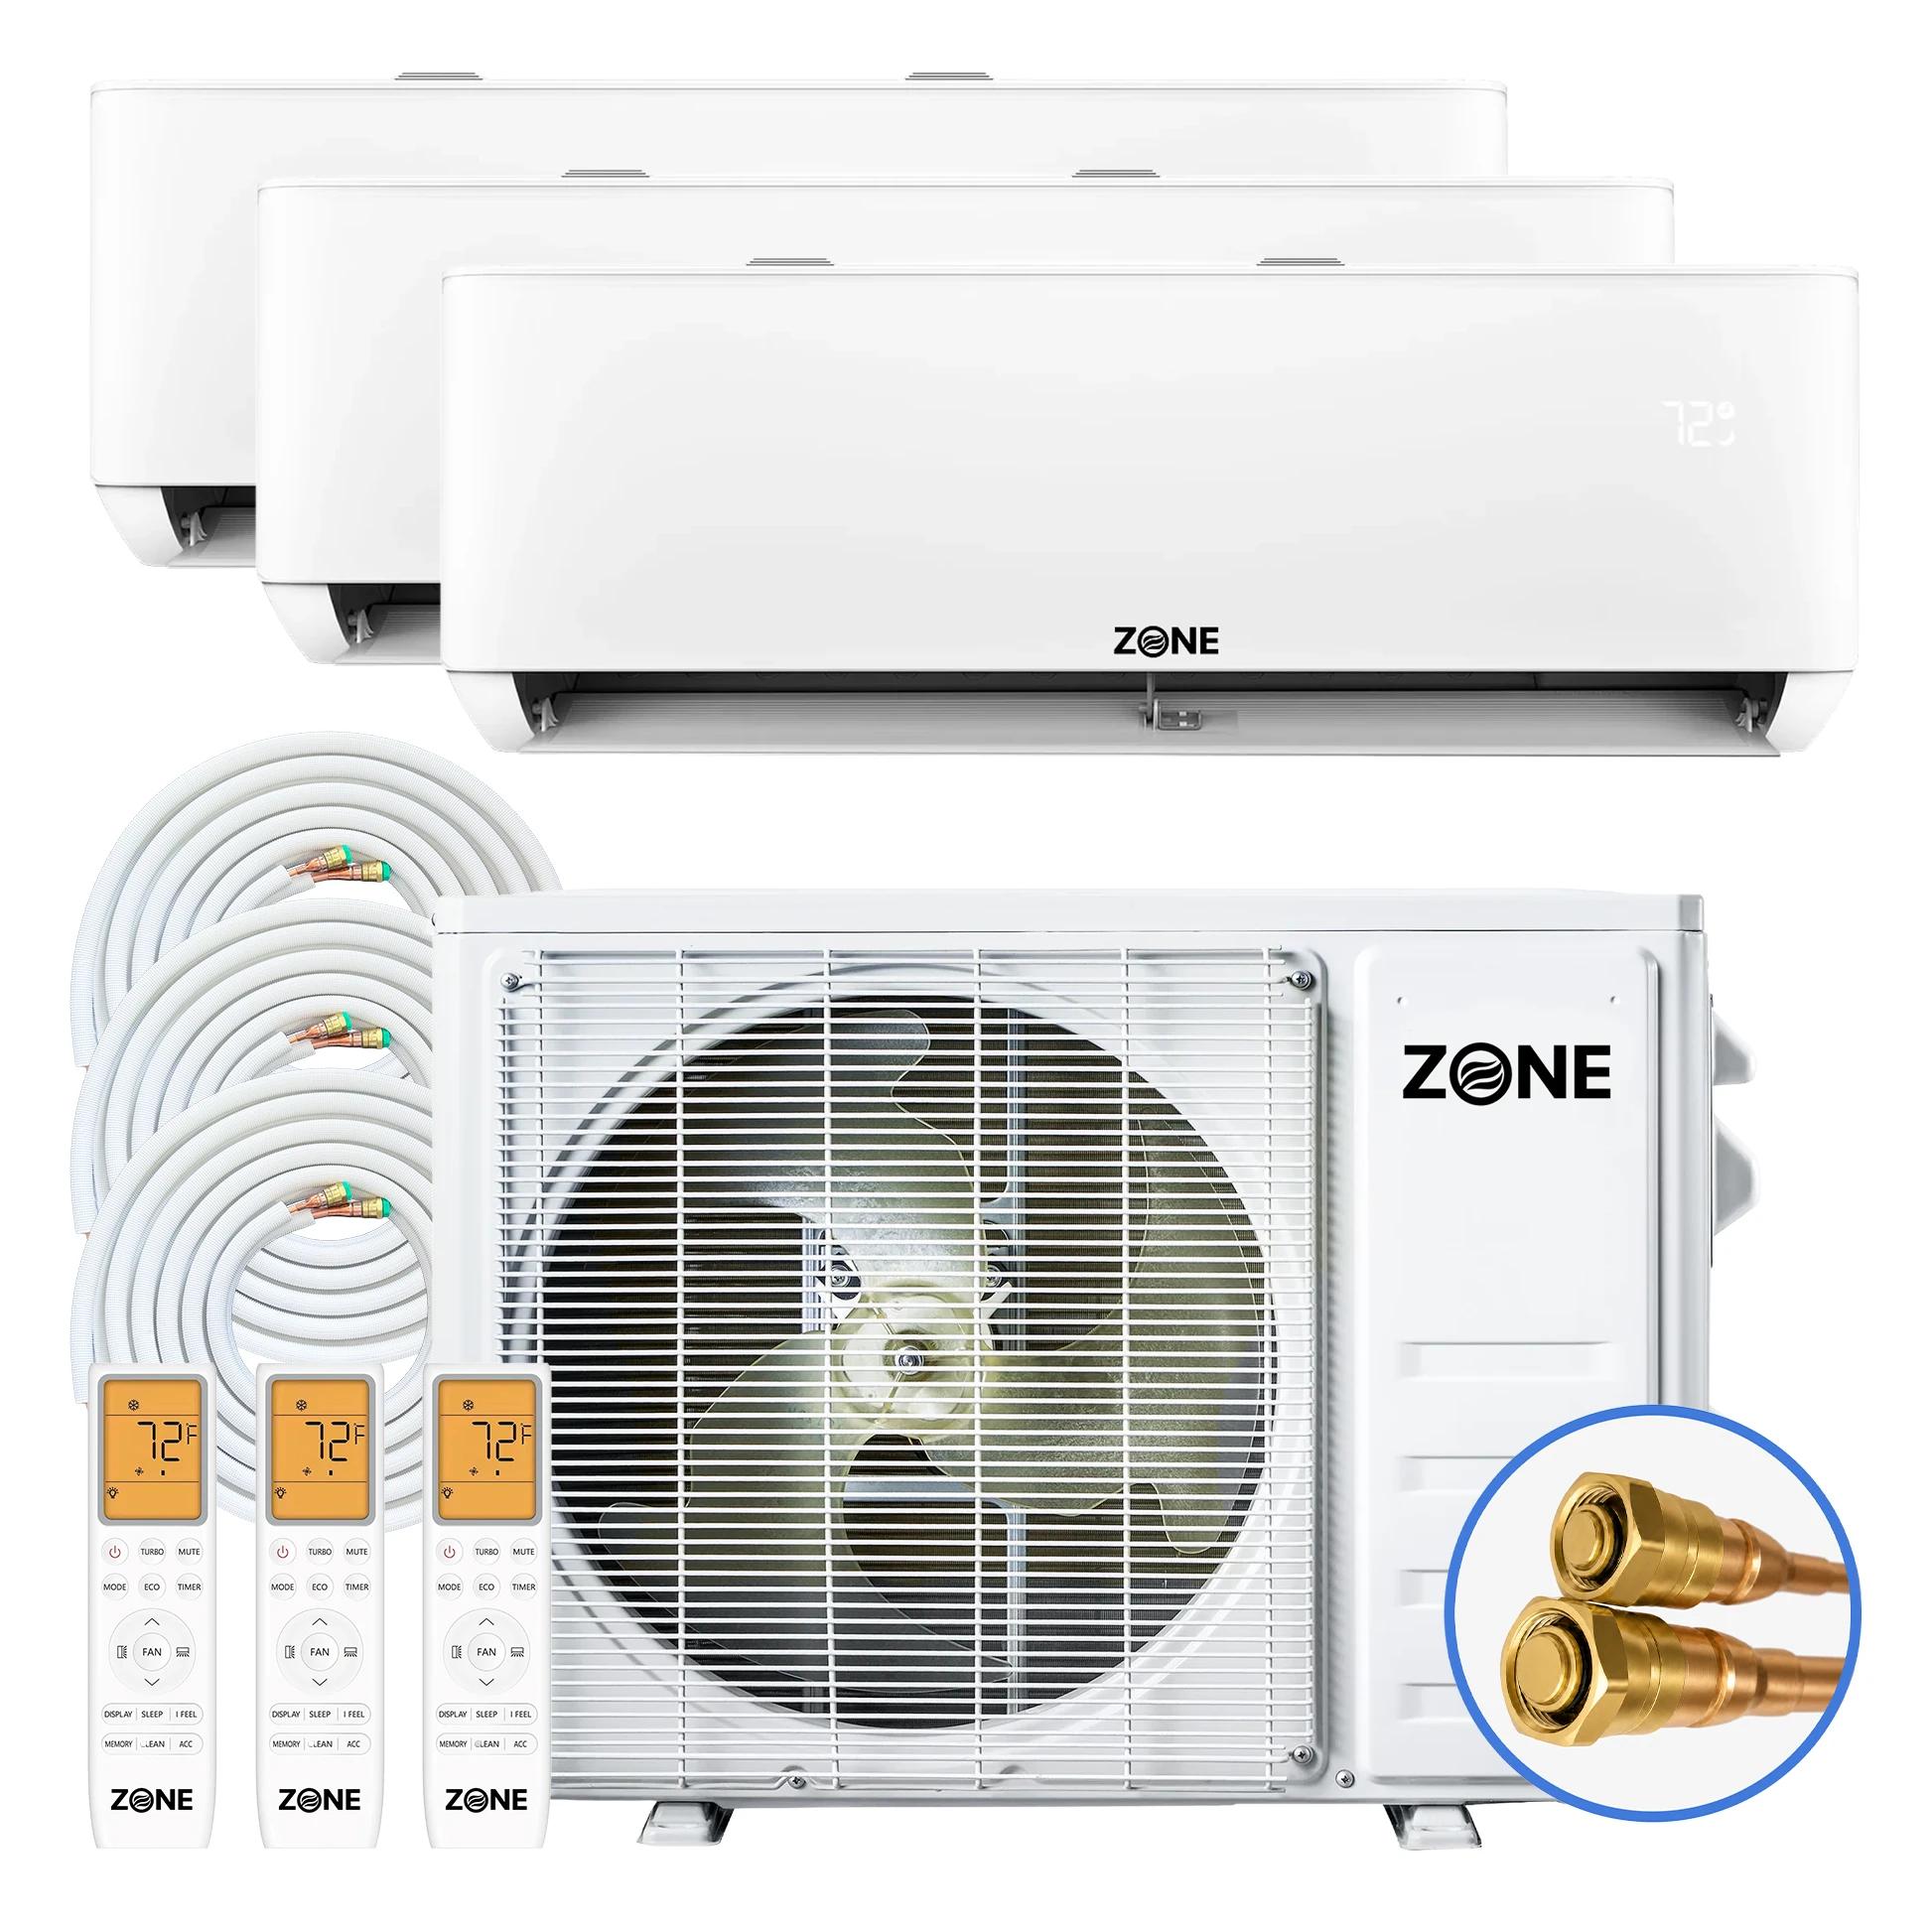
Zone Air™ DIY 3 ZONE 36,000 BTU (12K+12K+12K) 24 SEER2 230V Wall Mount Ductless Mini-Split Heat Pump System - Up to 1,800 Sq Ft
Zone Air™ DIY 3 ZONE 27,000 BTU (9K+9K+9K) 24 SEER2 230V Wall Mount Ductless Mini-Split Heat Pump System - Up to 1,350 Sq Ft
Zone Air™ DIY 3 ZONE 36,000 BTU (9K+9K+18K) 24 SEER2 230V Wall Mount Ductless Mini-Split Heat Pump System - Up to 1,800 Sq Ft
Zone Air™ DIY 3 ZONE 30,000 BTU (9K+9K+12K) 24 SEER2 230V Wall Mount Ductless Mini-Split Heat Pump System - Up to 1,500 Sq Ft
Zone Air™ DIY 3 ZONE 33,000 BTU (9K+12K+12K) 24 SEER2 230V Wall Mount Ductless Mini-Split Heat Pump System - Up to 1,650 Sq Ft
Want the full range — every BTU size, form factor, and zone count?
Browse All DIY Mini Splits →What a Self Install Consists Of
The order matters more than any individual step. Every one of these is ordinary homeowner work — hanging something heavy, drilling a clean hole, making an electrical connection — and the step that would normally require a certified technician has already happened at the factory, which is why the refrigerant connection sits last and takes minutes rather than dominating the day.
- 1
Mount the indoor head
Bracket to studs, level, with clearance above for the return air intake.
- 2
Drill the penetration
A 3-inch bore, sloped slightly downward to the outside so condensate drains.
- 3
Set the outdoor unit
Pad or wall bracket, level, on isolation pads to keep vibration out of the structure.
- 4
Route line set and drain
Wide bends only. A kinked line is replaced, not straightened.
- 5
Make the electrical connection
A dedicated 15A circuit on the 115V models (hardwired, or a dedicated outlet with the optional cord kit); a dedicated circuit on 230V.
- 6
Torque and release the charge
Thread the couplings, torque to spec, open the valves. Minutes, and it is last.
None of that covers whether you need a permit, or what a self install does to the warranty — those are separate questions with answers that depend on where you live, and they are handled on permits and warranty for a homeowner install. If you only need to cool one room, a self-install AC unit is the simplest version of this.
Self Install FAQ
Time, tools, difficulty, and the mistakes worth knowing about before you drill.
What does a self install actually consist of?
How long does it take a first-timer?
What tools do I need?
Is this a one-person job?
What do first-timers most often get wrong?
How much skill does it really take?
Which systems are realistic to self install?
Everything Arrives in One Delivery
Indoor head, outdoor condenser, mounting hardware and instructions, with US-based support if you get stuck mid-install. Free shipping, 5-year parts / 7-year compressor warranty.