What Is the Easiest Mini Split to Install Yourself? (Real DIY Options in 2026)
Updated November 11, 2026
If you’re searching for the easiest mini split to install yourself, you’re not looking for a complicated HVAC project. You want a quick connect mini split you can handle over a weekend with basic tools, no contractor and no stress. This guide breaks down exactly what makes a DIY mini split genuinely easy, which size and configuration to choose, and where the line is between a smart weekend project and a job that needs a pro.
View Our Best DIY Mini Split System Rankings →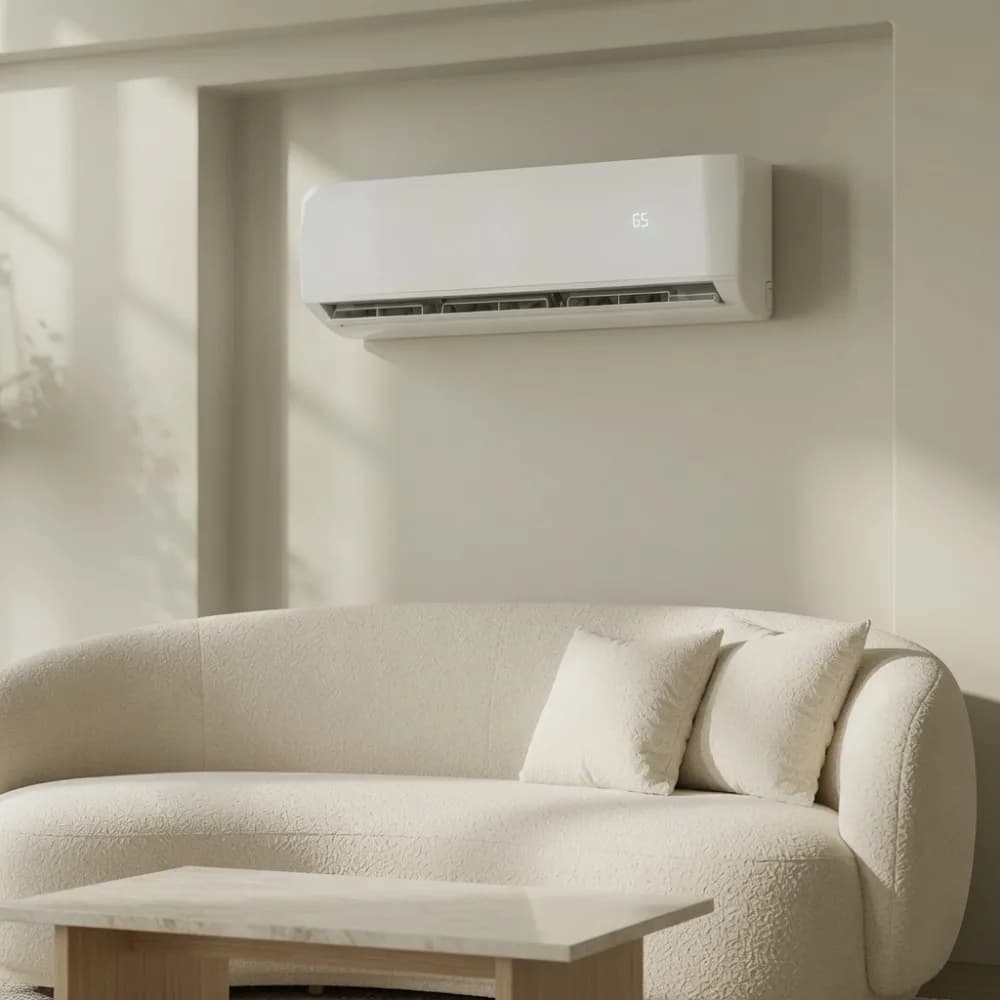
Quick Answer: The Easiest Mini Split to Install Yourself in 2026
The easiest mini split to install yourself is a single zone, 12,000 BTU DIY mini split that comes with a line set that is already pre charged. This type of system has the refrigerant already sealed inside the line set and outdoor unit, so you never open the refrigerant circuit during installation.
From Zone Air’s perspective, the best practical choice for most homeowners is the Zone Air 12,000 BTU 115V single zone heat pump, which is rated for up to 600 sq ft. Single-zone units work well for someone who needs to cool or heat just one room or a small space - think bedrooms, home offices, garages and bonus rooms that are in the 300–550 square footage range. If you do the install yourself, you can skip the contractor’s install bill. That bill is usually the biggest part of a mini split quote, so it’s worth doing the work yourself if you can.
So what does "easiest" actually mean when you get down to it?
- No vacuum pump or micron gauge required
- You do not need an EPA Section 608 certification. Homeowners who install DIY systems usually do not need HVAC licenses either
- No opening the sealed refrigerant circuit
- A simple mount on a wall bracket, a single hole in the wall, and a connection for the electrical (which is often best handled by a licensed electrician)
- Pre-charged line sets get rid of the need for EPA certification completely
Multi-zone units, a long run for the line set, and electrical work that is complex are not the easiest path. Those scenarios are covered later in the section about when to call a pro.
What Makes a Mini Split Truly DIY-Friendly?
A true DIY mini split is one where the refrigerant side of the system is completely sealed at the factory. You do not have to handle refrigerant, you do not have to pull a vacuum, and you do not have to charge the system. That is the line between a DIY install and a standard ductless unit that just happens to come in a box.
Pre-charged DIY mini splits have been around for years now. The category keeps getting easier to work with. Zone Air builds its systems around quick-connect fittings, R-454B refrigerant and homeowner documentation: a written DIY manual, an install video library and a one-page spec sheet for every unit.
Here is the core standard for a system that is truly DIY-friendly:
- Pre charged line set: The line set arrives sealed and loaded with refrigerant. Installation needs no evacuation or charging steps. Pre-charged line sets make installation simpler because you do not have to handle refrigerant.
- Quick-connect fittings: Hand-threaded or torqued with standard wrenches, so there is no brazing and no flaring. DIY mini-split systems usually do not need HVAC tools or specialized equipment.
- Clear manuals and mounting hardware: You get mounting plates, hardware and step-by-step instructions that are designed for you instead of for technicians.
- Simple control wiring: A single factory cable connects the indoor air handler to the outdoor condenser, so you don’t have to follow terminal-by-terminal wiring diagrams.
- Built-in guards: Pressure sensors, freeze protection and error codes reduce the chance that DIY mistakes will cause damage.
A lot of the so-called "easy install" mini splits on the market still need a vacuum pump, a micron gauge, a nitrogen pressure test and EPA Section 608 certification. Those aren’t true DIY systems. Pre-charged line sets get rid of the need for a vacuum pump, and Zone Air engineers its single zone systems to remove those barriers.
Why 12,000 BTU Single Zone Systems Are Easiest for DIY
A single zone system is the simplest way to set things up: you have one outdoor condenser, one indoor air handler and one line set that connects the two units. Single-zone systems are simpler and quicker to install than any multi-zone alternative, so they’re what you’d want to choose for a first-time DIY project.
Here’s why 12,000 BTU is the sweet spot for DIY:
- Right room coverage: It’s big enough for a typical room, about 300–550 sq ft, depending on how well insulated the room is and what the climate is like. A single-zone system has one indoor unit for each outdoor unit, so everything stays simple.
- Manageable electrical demands: 115V units are usually easier to install than 230V units that need dedicated circuits. A Zone Air 12K 115V unit runs on a dedicated 15A circuit. The optional 3-prong cord kit lets it plug into a dedicated GFCI outlet where local code allows it (never use an extension cord).
- Liftable components: The indoor unit and outdoor condenser are light enough that one person plus a friend can lift them into place and mount them.
- Few wall penetrations: You only need one hole for the line set and drain, and one condensate drain line, so there’s just one route to plan and secure.
Concrete example: This is a Zone Air 12,000 BTU single zone DIY mini split installed in a 15×20-foot bonus room (about 300 sq ft) in the Pacific Northwest. With decent wall insulation and double-pane windows, this size has comfortable heating and cooling all year. You mount the wall air handler, drill one hole, spot the outdoor unit on a pad nearby, connect the quick-connect line set, hook up power at the outdoor unit, and have a working system the same day.
Larger single zone options at 18,000–24,000 BTU are still DIY-possible, but they add weight, they need 230V power and they take more planning to get right. They’re the "second easiest" tier.
Key Features to Look For in the Easiest DIY Mini Split
Before you purchase, here’s what separates a genuinely easy install from a frustrating one:
- Pre charged line set with modern refrigerant: Look for factory-charged R-454B refrigerant, which has a lower global warming potential than older R-410A. Modern mini splits use R-454B refrigerant, reducing environmental impact while maintaining performance. No vacuum pump or gauges needed.
- The right line set length: Pre-packaged line sets commonly come in a few fixed lengths, and you coil whatever is left over. Zone Air’s single-zone wall systems ship with a 16 ft pre-charged line set, and Zone Air will cut a pre-charged line set to any whole foot from 5 to 75 ft, so you order the length you measured instead of coiling excess line. The 25, 33, 50 and 75 ft sets are each one continuous factory-sealed run, not an extension.
- Wall-mount indoor air handler: A standard wall-mounted unit is the easiest style to install - you just put a bracket on the studs and make one hole through the wall. Concealed duct options or ceiling cassette options add more things to figure out on a first project.
- Clear mounting templates and brackets: Templates with stud spacing marks make the job faster. Zone Air sends the mounting hardware, the communication cable and (on wall-mount systems) the drain hose and tape in the box.
- Built-in WiFi control: Many mini-split systems use smart features for remote control and scheduling. Control with an app means you do not need to run separate wires for a thermostat.
- High efficiency (up to 24 SEER2): SEER2 ratings measure energy efficiency for HVAC systems, and SEER2 standards became effective on January 1, 2023. Higher SEER2 ratings indicate lower electricity usage for cooling. Zone Air’s 230V 9K and 12K units are rated 24 SEER2, and the 115V 9K and 12K are 23 SEER2, so plugging into 115V costs you one point of efficiency. High-efficiency ratings can lead to lower energy bills. They can qualify for local utility rebates (check yours with the rebate calculator). The federal 25C tax credit ended for equipment placed in service after 2025, so don’t count on it in 2026.
- Cold-climate heating performance: If you need to heat a garage, basement or bonus room in a northern state, you’ll want to look for reliable heating down to -13°F. Zone Air’s 12K unit is rated to heat down to -13°F, and to cool in outdoor temperatures up to 131°F.
- Low noise: Zone Air’s indoor unit hits about 30 dB in quiet mode, similar to a library, and its FAQ lists the outdoor units at 48–58 dB.
All of these come standard with Zone Air systems, so it’s a reliable choice for a first DIY project.
What a DIY Mini Split Install Actually Involves Step by Step
This isn’t a full installation manual. It’s a realistic walk-through of what the job looks like so you can plan your project with confidence. If it’s your first one, you should plan a weekend for it.
- Plan the location: Choose an interior wall for the air handler with access to an exterior wall. Pick an outdoor spot for the condenser with good airflow and the required clearances on all sides. You’ll also need to secure a route for the line set between the two units.
- Confirm power supply: Check your panel for a spare breaker position. A 12,000 BTU 115V unit needs a dedicated 15A circuit. If your panel is full or you’re unsure about electrical work, hire an electrician for this step.
- Mount the indoor air handler bracket: Use a stud finder to find the studs (16" or 24" on center). Make the bracket level, pre-drill the holes and secure it with lag bolts. Use the manufacturer’s mounting template.
- Drill the wall hole: A 3" hole is needed for the line set to pass through. Drill with a slight downward slope toward the outside, use a wall sleeve and be careful not to hit plumbing or wire runs.
- Hang the indoor air handler: Feed the control cable, line set and condensate drain through the wall, then hook the indoor unit onto the bracket.
- Mount the outdoor condenser: Place it on a concrete pad or wall bracket 12–18" above ground. Vibration pads can help reduce noise, and you’ll want to keep the space around it that the manual calls for.
- Route and connect the pre charged line set: Gently pull the coil apart, avoid kinks, hand-thread fittings and use a torque wrench to tighten connections to spec. Never cut a pre-charged line.
- Run the condensate drain: Maintain a continuous downhill slope, protect it from freezing in cold climates, and secure it with straps.
- Connect control cable and power: Wire the factory control cable between the air handler and outdoor unit, and bring line voltage to the outdoor disconnect per local code.
- Open service valves and restore power: Open the refrigerant valves at the outdoor condenser, restore power to the system, and run initial tests (cooling, heating and fan modes) following the manual.
Zone Air’s FAQ puts a first single-zone wall-mount install at 4–6 hours for two people, and about 3 hours for someone who has done one before. Spreading it over a weekend takes the pressure off.
Choosing the Right System Size and Configuration
Choosing the right system up front is as important as an easy install. Proper sizing of mini-split systems is critical because it helps you avoid waste and comfort issues down the road.
- BTU sizing: 12,000 BTU covers common rooms that are around 300–550 sq ft. Larger open spaces may need 18,000 BTU. You can use Zone Air’s mini split sizing calculator to match your space and load.
- Climate considerations: In colder climates, size based on heating load, not just cooling. By 2026, the trend is toward heat-pump-first homes.
- Single zone vs multi-zone: Multi-zone systems connect multiple indoor units to one outdoor unit, but multi-zone systems require more complex electrical setups. For a garage, bonus room or addition, a single zone system is almost always the right solution. If you expect a second or third room later, start with a multi-zone outdoor unit, since a single-zone condenser can’t be converted. Zone Air’s 27K multi-zone outdoor unit runs 2–3 indoor units, and as of November 2026 it is the only DIY mini split that lets you mix wall-mount, ceiling cassette and concealed ducted units on one outdoor unit.
- Line set length: Choose a pre-charged line set that avoids excessive coiling and stays within maximum run limits in the manual (Zone Air allows up to 33 ft of vertical rise on the 9K and 12K). Don’t let excess drop your system’s efficiency.
- Electrical compatibility: Confirm whether a 115V or 230V system matches your home’s panel and available breaker positions.
With Zone Air’s product pages, you can match room size, insulation level and climate region to the right kit and the right length of line set.
Zone Air DIY Mini Splits Built for Homeowners, Not Contractors
Zone Air is a DIY-focused HVAC brand that sells direct to you at zone-air.com, and you can get live technical support from 8 AM to 6 PM MT. Every system is shipped ready for homeowner installation. There’s no contractor markup, no shop middleman and no waiting weeks for someone to show up.
- Pre charged line sets so no HVAC license or refrigerant tools are required for the initial install, cut to any whole foot from 5 to 75 ft
- Efficiency ratings go up to 24 SEER2 on 230V (23 on 115V). Modern DIY mini splits often beat the lowest federal SEER2 ratings you are allowed to sell, so that can mean real savings on your monthly bills.
- This is a cold-climate heat pump that keeps working down to -13°F, so it is built for real winters.
- The indoor unit is quiet at 30 dB. That works for bedrooms, studios and home offices.
- Integrated WiFi and app control, so you don’t need separate wall thermostat wiring
- Self-installation warranties do matter for homeowner-installed mini-split systems. Zone Air backs its units with a 5-year parts and 7-year compressor warranty with no registration deadline. Installing it yourself does not void it, and you can return uninstalled units within 30 days.
Since pre-charged quick-connect systems first showed up, the DIY mini split category has grown a lot. Today, Zone Air aims to be the easiest and most reliable path for homeowner installation in 2026. It’s a brand built around the idea that you shouldn’t need a contractor to control the climate in your own space.
Common installs include a 12,000 BTU single zone in a 400 sq ft office, or an 18,000 BTU unit in a detached garage where ductwork isn’t practical and independent heating and cooling just makes life easier.
When DIY Mini Splits Make Sense and When to Call a Pro
Even the easiest DIY mini split has limits, and safety and code compliance matter more than saving a weekend of work.
Good DIY use cases:
- Single rooms, garages, finished basements and additions that use a single zone system with a simple, short path for the line set
- Homes where a spare 15A 115V circuit is available or can be easily added
- Situations where the outdoor unit is close to the indoor unit (under 25 ft of line)
Hire a pro when:
- The electrical panel is old, full or undersized - a licensed electrician should handle breaker sizing, conductor gauges and any wire upgrades. Municipal codes may require permits for installing mini-split systems.
- The line sets have to go through finished walls, or go up or down more than one story, or get close to the maximum length the manufacturer allows
- You need a whole-home or multi-zone setup with 3–6 zones - professional load calculations and commissioning are worth the cost
- Any future refrigerant work is needed - opening the sealed refrigeration circuit for leak repairs or compressor replacement always needs an EPA-certified technician
A perfectly valid hybrid approach is to do the simpler parts yourself (the mounting, the condensate drain, running the line set) and hire professionals just for the electrical work or any future refrigerant service. This keeps the equipment cost cheap while you stay safe and follow the code.
Realistic Time, Tools and Skills You’ll Need
Here’s what an average homeowner should realistically have before starting this project:
- Basic tools: Drill/driver, stud finder, level, hole saw or core bit (3"), wrenches and a torque wrench for the quick-connect fittings, screwdriver set, basic hand tools
- Optional but helpful: Fish tape for feeding cable through the wall, line set covers for a clean finish, insulation tape and a ladder
- Skills: Comfort drilling through exterior walls, safely using ladders, reading a wiring diagram and following manufacturer instructions step by step
- Typical install time: It’s 4–6 hours for two people on a first 12,000 BTU single zone wall-mount install, spread over one or two days if you like
- A second person: Lifting the air handler and placing the outdoor condenser goes much easier when you have two people
If any step feels beyond your comfort level, especially the electrical step, budget for professional support on that portion rather than forcing it.
How to Choose the Easiest Mini Split to Install Yourself
The easiest mini split to install yourself is a single zone, about 12,000 BTU DIY mini split with a pre charged line set and a simple wall-mounted air handler. That’s the answer in 2026, and it hasn’t changed - because the formula works.
- Confirm your space is a good fit for a single zone system
- Choose a size (12,000 BTU or similar) that matches your room and climate
- Look for DIY features: a factory pre-charged line set, quick-connect fittings and clear manuals
- Plan for safe electrical work, and use an electrician where you need to.
- Consider a DIY-focused brand like Zone Air that designs systems specifically for homeowner installation and stands behind them with warranty and support
Ready to plan your install? Review Zone Air’s current single zone DIY mini split kits and line set options, then block off an upcoming weekend. Your room deserves better climate control - and you can create it yourself.