
DIY Ceiling Cassette Mini Split Systems
9–36k BTU DIY Ceiling Cassette Mini Split Systems Designed for Easy Installation. Shop all Zone Air ceiling cassette DIY mini splits.
Single-Zone Systems
One indoor unit, one outdoor unit — for a single room.
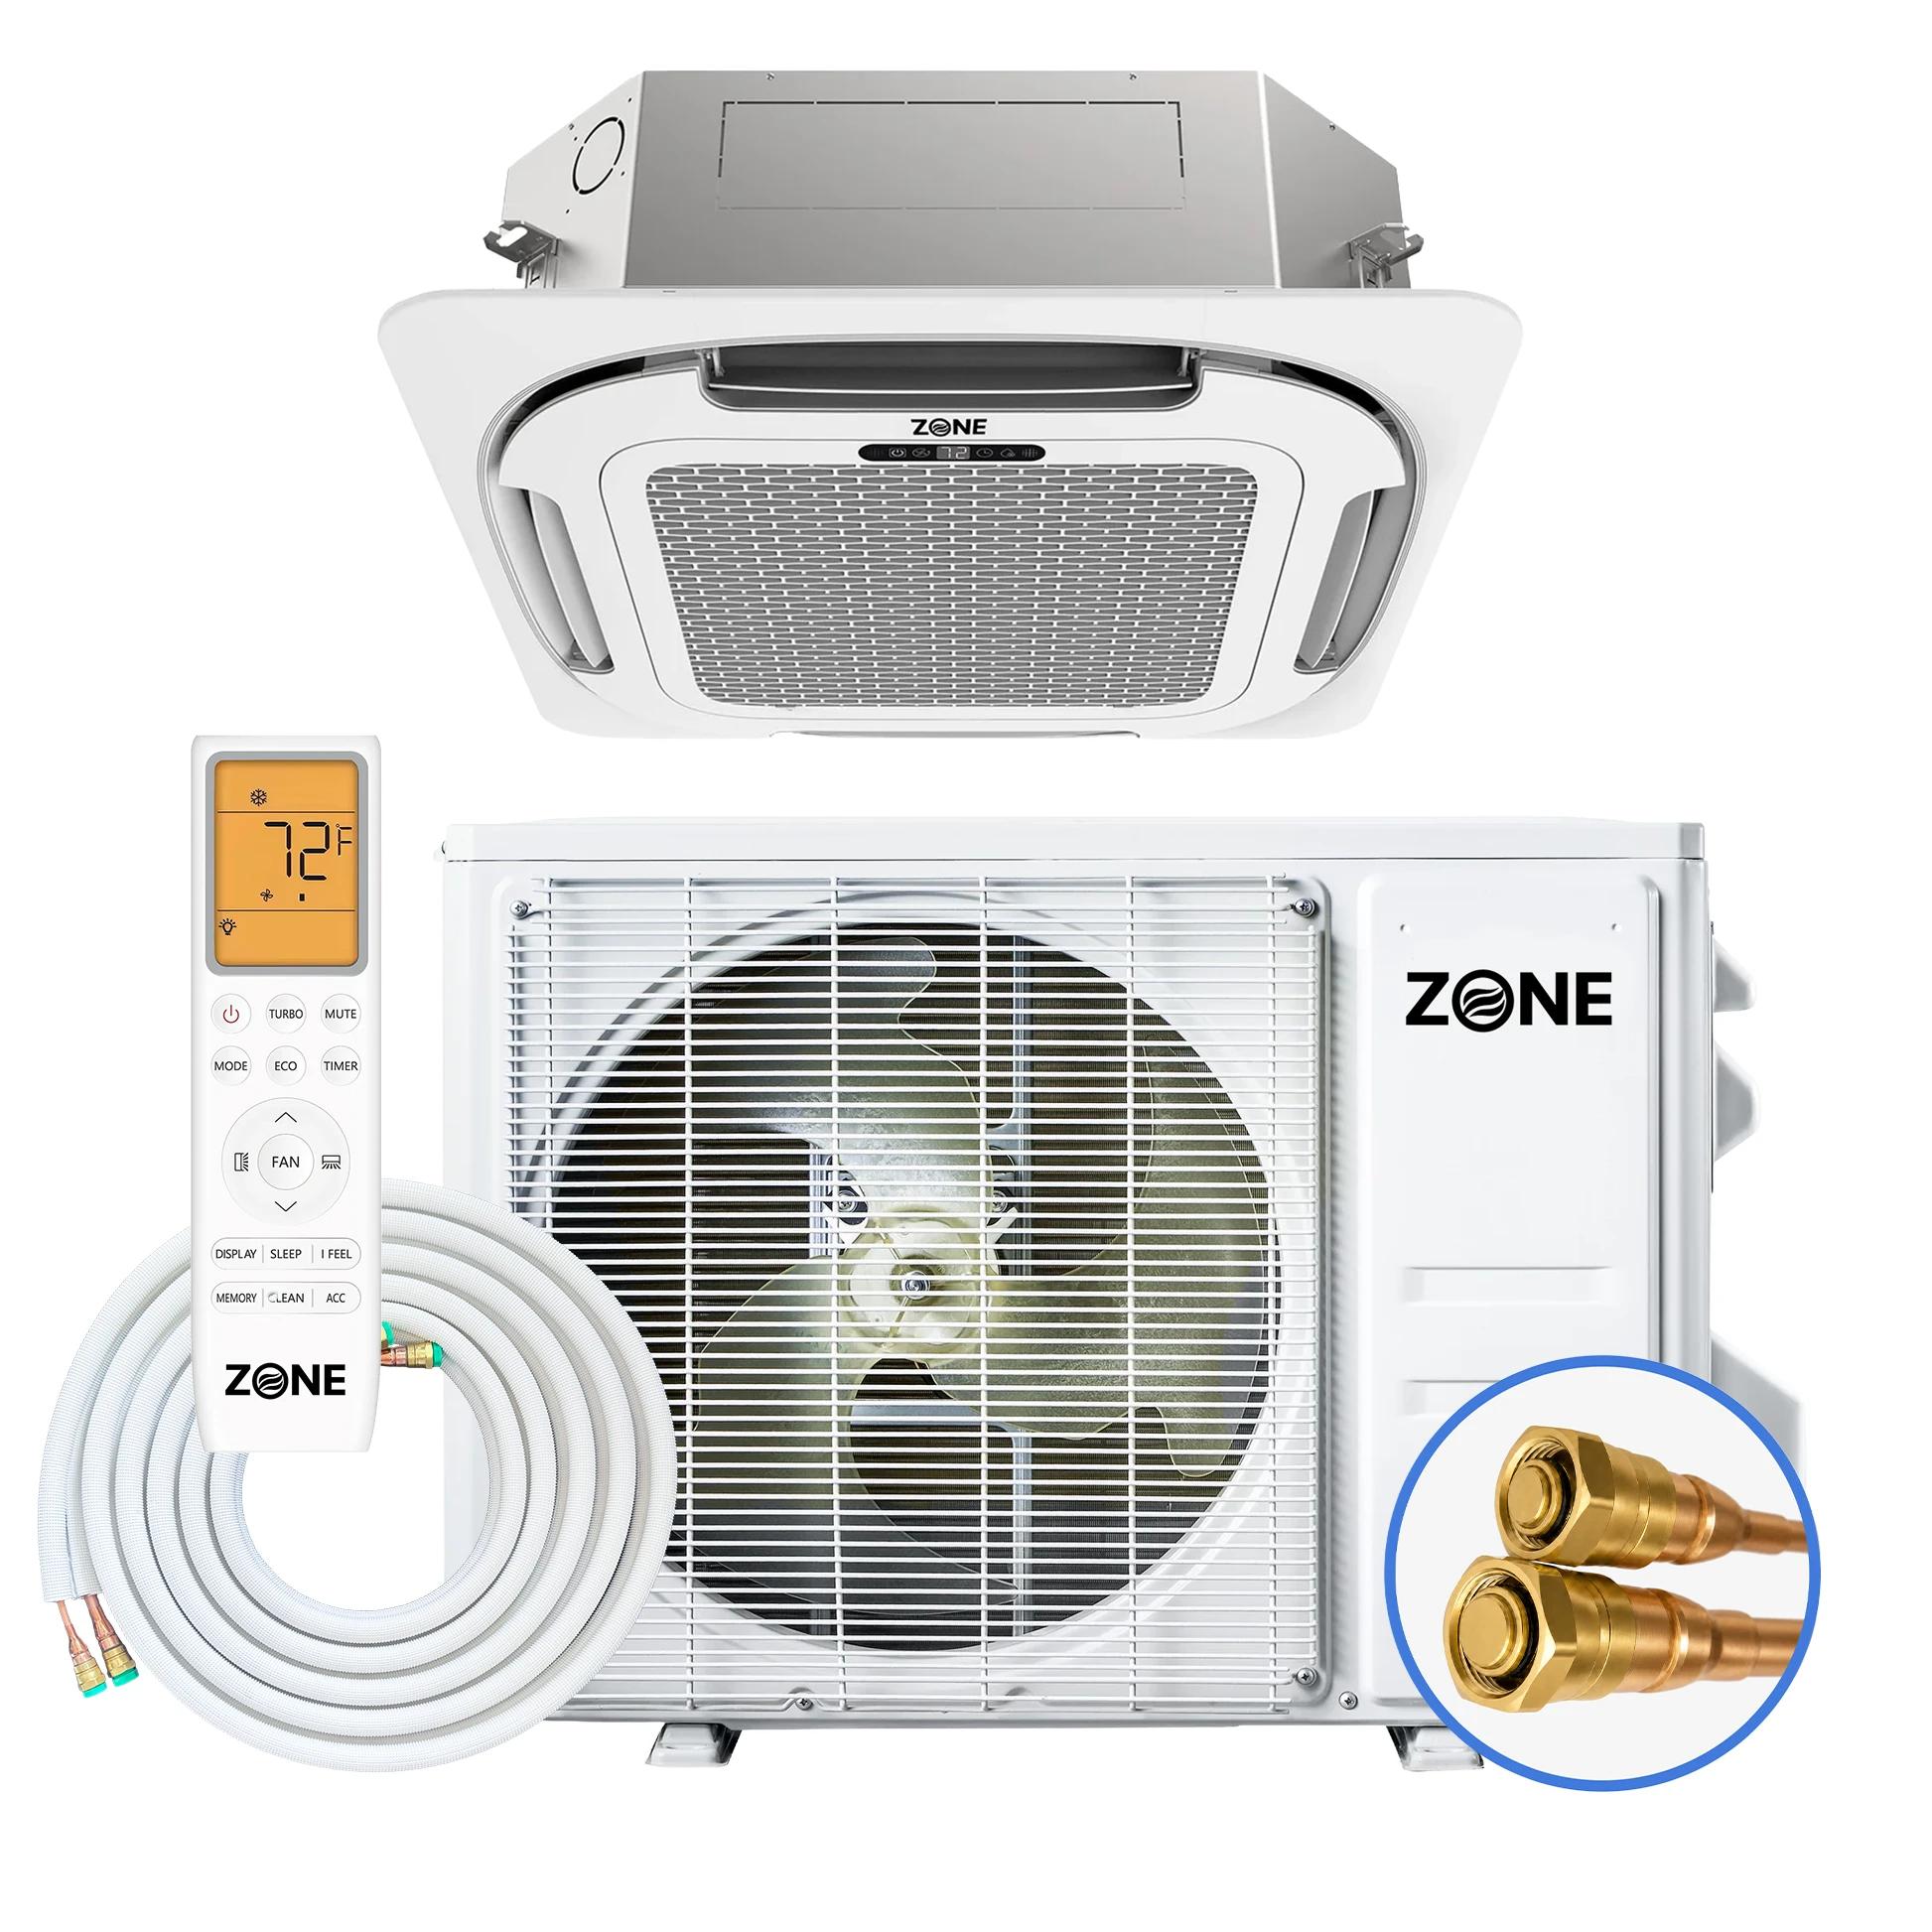
Zone Air® Airframe 9,500 BTU 21 SEER2 230V Ceiling Cassette Mini-Split Heat Pump AC - Up to 475 Sq Ft
Zone Air® Airframe 12,000 BTU 21 SEER2 230V Ceiling Cassette Mini-Split Heat Pump AC - Up to 600 Sq Ft
Dual-Zone Systems
Two indoor heads sharing one outdoor condenser — cool/heat two rooms with one system.
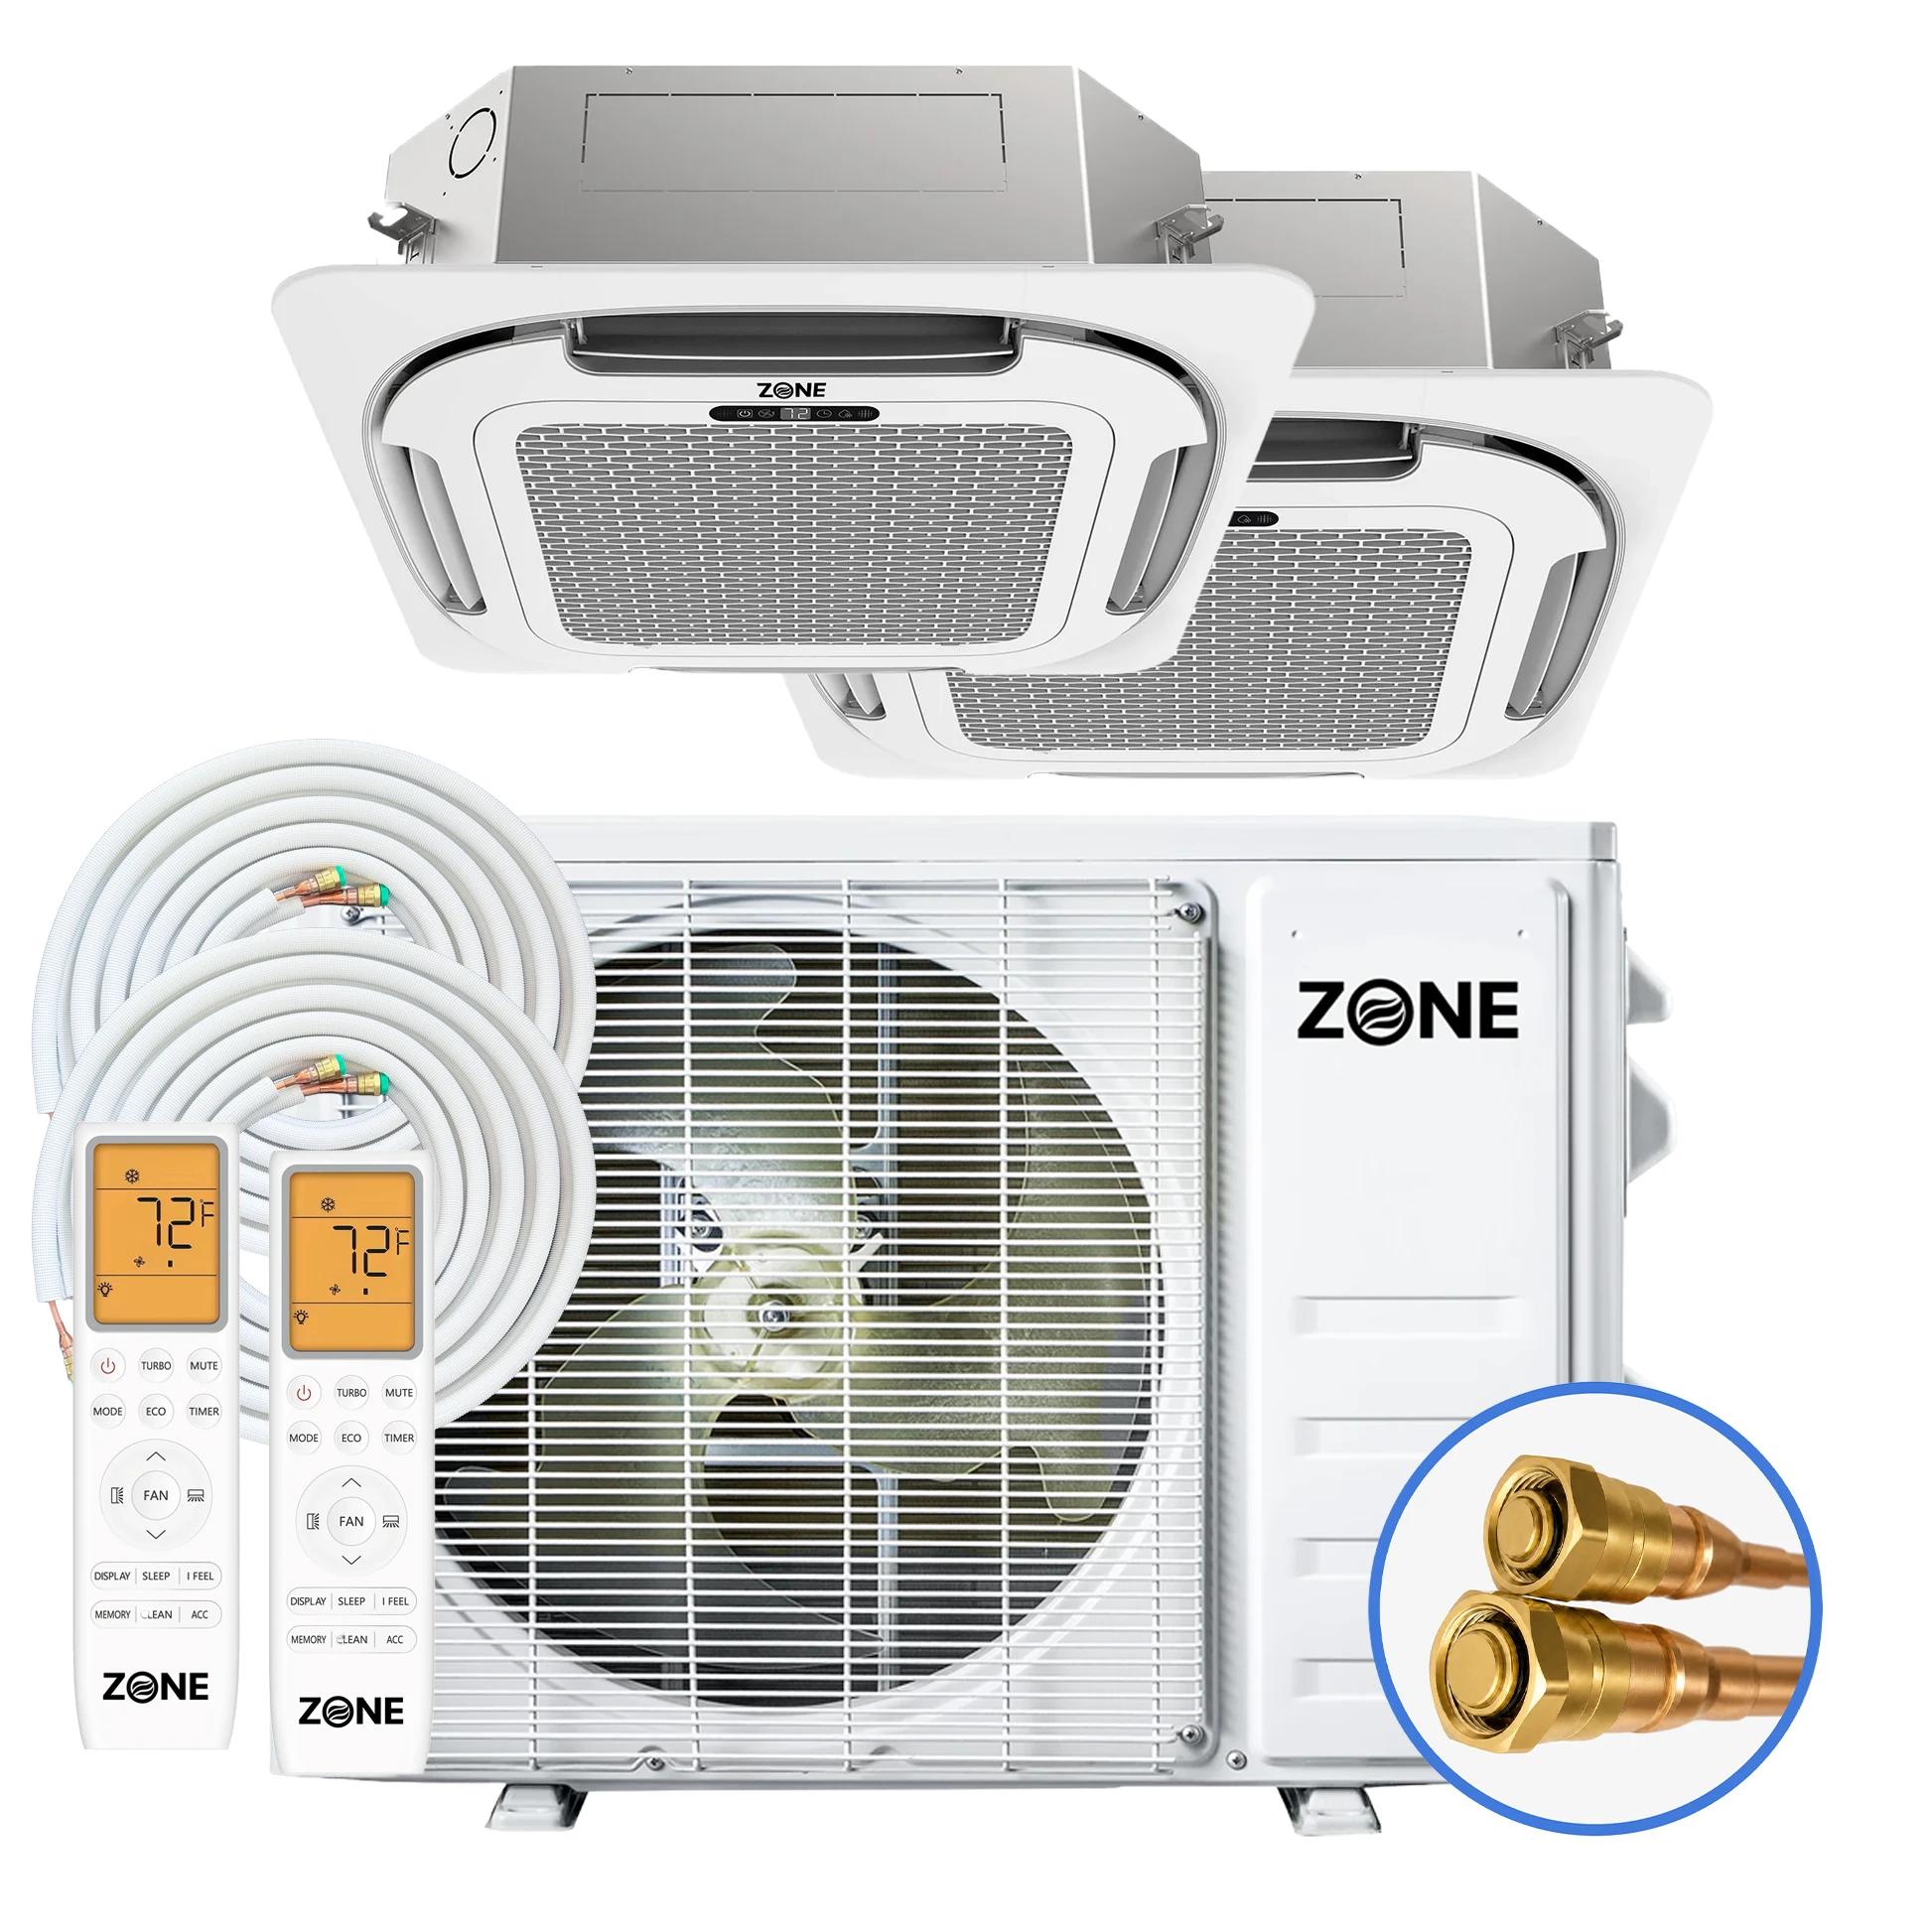
Zone Air® Airframe DUAL ZONE 24,000 BTU (12K+12K) 21 SEER2 230V Ceiling Cassette Mini-Split Heat Pump System - Up to 1,200 Sq Ft
Zone Air® Airframe DUAL ZONE 19,000 BTU (9.5K+9.5K) 21 SEER2 230V Ceiling Cassette Mini-Split Heat Pump System - Up to 950 Sq Ft
Zone Air® Airframe DUAL ZONE 21,500 BTU (12K+9.5K) 21 SEER2 230V Ceiling Cassette Mini-Split Heat Pump System - Up to 1,075 Sq Ft
Three-Zone Systems
Three indoor heads sharing one outdoor condenser — independent comfort in three rooms.
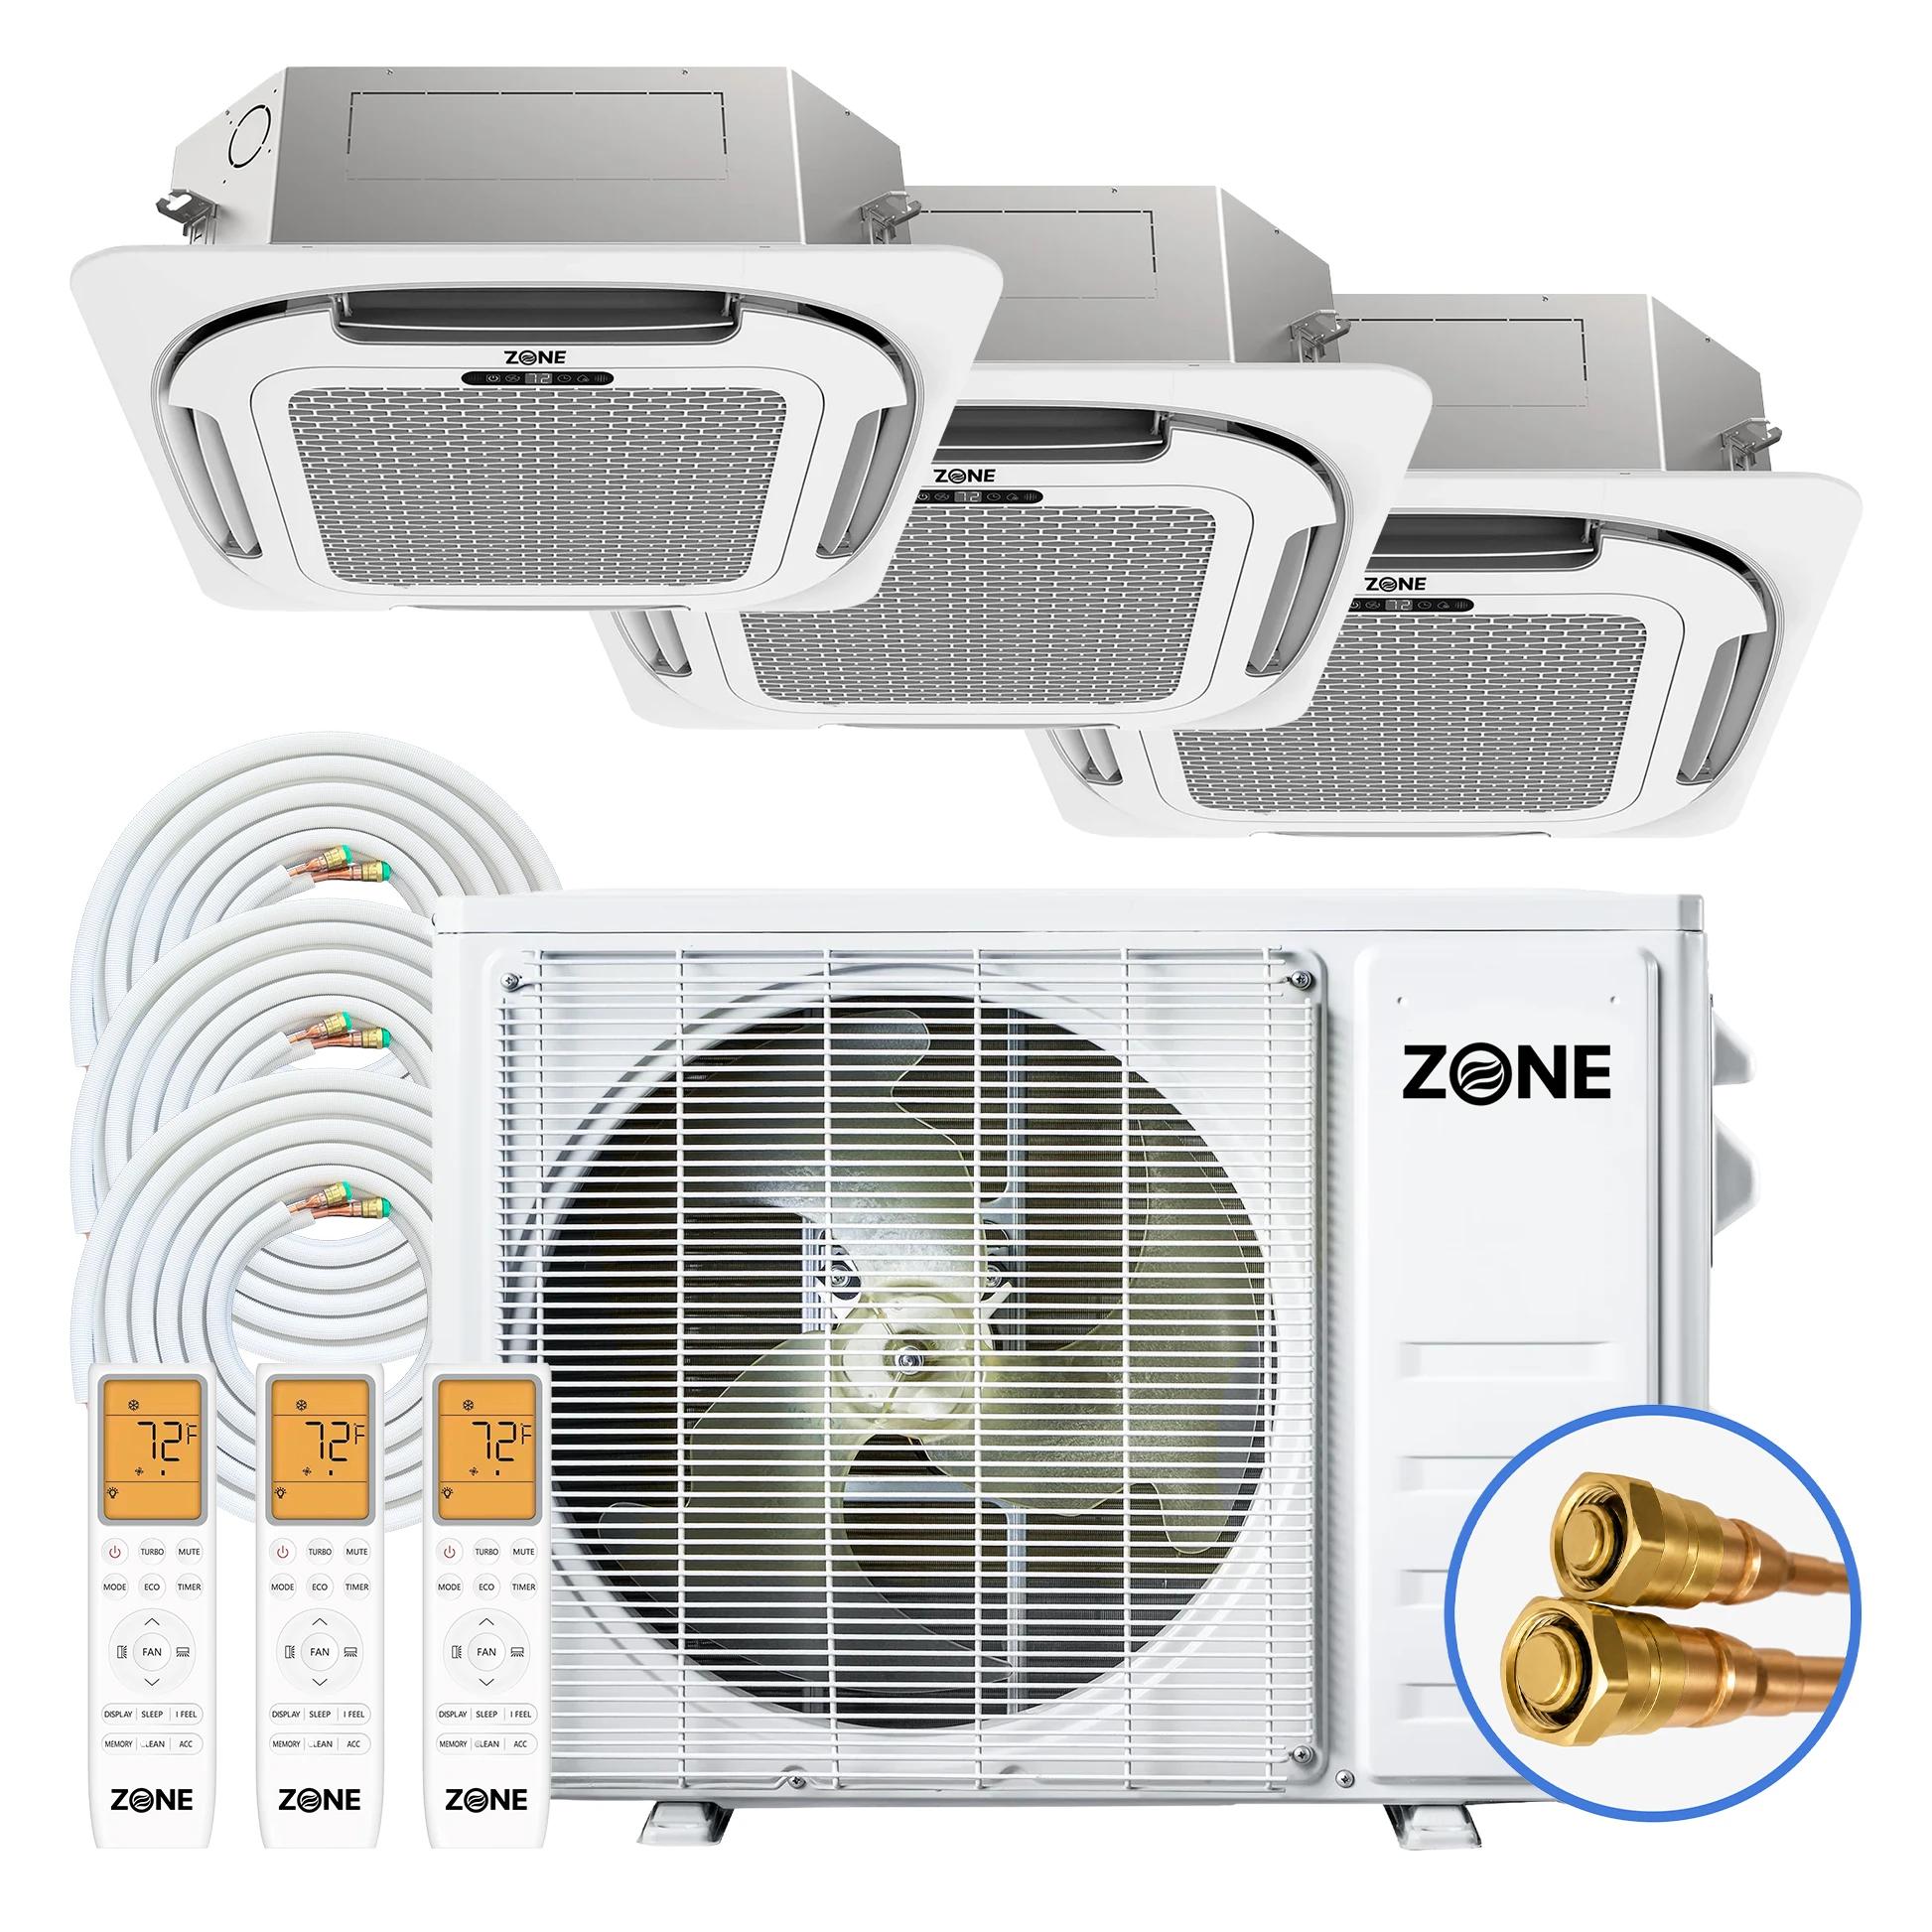
Zone Air® Airframe 3 ZONE 36,000 BTU (12K+12K+12K) 24 SEER2 230V Ceiling Cassette Mini-Split Heat Pump System - Up to 1,800 Sq Ft
Zone Air® Airframe 3 ZONE 28,500 BTU (9.5K+9.5K+9.5K) 24 SEER2 230V Ceiling Cassette Mini-Split Heat Pump System - Up to 1,425 Sq Ft
Zone Air® Airframe 3 ZONE 31,000 BTU (12K+9.5K+9.5K) 24 SEER2 230V Ceiling Cassette Mini-Split Heat Pump System - Up to 1,550 Sq Ft
Zone Air® Airframe 3 ZONE 33,500 BTU (12K+12K+9.5K) 24 SEER2 230V Ceiling Cassette Mini-Split Heat Pump System - Up to 1,675 Sq Ft
“A ceiling cassette only sits flush if the cavity above the finished ceiling has real depth — give the body ten or so inches plus room for the lineset run, the condensate slope, and the electrical. Where a cassette is best is often an open room with no good interior wall: the four-way airflow throws air to all four corners instead of pushing it across the room from one side, so you get even temperatures without a visible wall head. In a T-bar drop ceiling a careful DIYer can drop one into a 24-by-24 grid opening in an afternoon.”
Want to Mix Cassettes with Other Head Styles?
Put a ceiling cassette in the open living space and wall mount heads in the bedrooms — one shared condenser, 2 or 3 zones, live pricing as you build.
Use Our Free Match Configurator →Looking for Other DIY Systems?
Wall mount and concealed ducted heads, single zone through 3 zone systems, plus linesets, covers, and brackets — the full Zone Air DIY catalog in one place.
Shop All Zone Air DIY Mini Splits →DIY Ceiling Cassette Mini Split Systems, in Short
Last updated:
A DIY ceiling cassette mini split is a ductless heat pump whose indoor head recesses up into the ceiling, leaving only a 24×24 decorative grille at ceiling level. Air discharges from all four sides, so an open room reaches an even temperature instead of being pushed from one wall. Zone Air carries 9K and 12K DIY cassette heads — roughly 250–400 and 350–550 sq ft — in single-room, 2 zone, and 3 zone configurations on one shared outdoor condenser.
What makes it DIY is the refrigerant circuit: every system runs on a pre-charged R454B lineset (ordered separately, from $229.99 per zone) with hand-tight quick-connect fittings, so there is no vacuum pump, no gauges, and no EPA 608 certification — the same easy install mini split path as our wall mount heads. In a T-bar drop ceiling the head drops into a standard grid opening in 2–3 hours; in drywall, budget 4–6 hours plus framing and patching. You need about 10 inches of clear cavity above the finished ceiling — the body alone is 9.45 inches deep.
Choose a cassette when wall space is contested or a visible wall head would look intrusive — kitchens with cabinetry to the ceiling, offices, great rooms. Choose a wall mount instead for cathedral ceilings, small bedrooms under 200 sq ft, or any ceiling you cannot open from above, and a concealed ducted unit when you want no visible equipment at all.
Every ceiling cassette system comes with:
- ✓21 SEER2 energy efficiency with 4-way 360° airflow
- ✓Flush ceiling mount for a clean, professional appearance
- ✓9K–12K BTU heads for rooms up to 500 sq ft
- ✓Ultra-quiet 30 dB operation in quiet mode
- ✓Pre-charged quick-connect linesets and a built-in condensate pump: easy DIY installation
DIY Ceiling Cassette Mini Split FAQ
Ceiling depth, what the install actually takes, sizing an open room, multi-zone cassettes, and what ships in the box — answered straight.
What is a DIY ceiling cassette mini split system?
Can I run two or three ceiling cassettes on one outdoor unit?
How much room / space do I need for a cassette mini split?
What does the install actually take — drop ceiling vs drywall?
Can a single 12K cassette heat and cool a 600 sq ft great room?
How does a DIY ceiling cassette compare to a DIY wall mount and concealed duct?
How much does a DIY ceiling cassette mini split cost?
Benefits of a DIY Ceiling Cassette Mini Split
Why a ceiling cassette is the right pick for open rooms and offices where wall space is scarce — and how flush ceiling mounting and four-way airflow set it apart from a wall head.
4-way 360° airflow
Air discharges from all four sides of the panel, throwing conditioned air to every corner of the room instead of pushing it from one wall. Open rooms reach an even temperature without hot or cold spots.
Flush ceiling mount
The body recesses up into the ceiling cavity so only a slim decorative grille sits at ceiling level. No wall head, no floor console — just a clean, professional ceiling line.
Fits a 24×24 drop-ceiling tile
The panel drops into a standard 2×2 T-bar grid opening, so commercial offices and finished basements with suspended ceilings can add one by popping two tiles — no drywall cutting or patching.
Ideal for offices and open rooms
Conference rooms, retail floors, and great rooms 250–500 sq ft are where cassettes shine — exactly the open spaces where a visible wall unit looks intrusive or there is no free wall to mount on.
Heat and cool, hidden in the ceiling
Heat pump operation works to -13°F outdoor for heating and 122°F for cooling, all from a unit tucked into the ceiling with the compressor outside — one system replaces a furnace and an AC year-round.
Quiet, even temperature distribution
Indoor sound runs as low as 30 dB in quiet mode, and the centered ceiling position plus four-way throw keeps the room within a tight temperature band instead of stratifying near one wall.
Ceiling Cassette vs Wall Mount vs Concealed — Which One Belongs in Your Room
The three indoor form factors solve the same problem (cool/heat one room or zone) but they fit different rooms differently. The choice is about the room — ceiling height, wall space, how visible you want the unit to be — not about which is best.
| Form factor | Best room shape | Install time | Visibility | Starting price |
|---|---|---|---|---|
| Wall mount | Any room with one free wall ≥36" wide | 4–6 hours | Visible 32"×11" unit on wall | $1,899 |
| Ceiling cassette | Open rooms 250–500 sq ft, offices, great rooms | 2–3 hrs drop ceiling / 4–6 hrs drywall | Only 24"×24" decorative grille visible | $2,469 |
| Concealed duct | Whole-home (2–4 rooms from one head) | 6–8 hours | Only small supply/return grilles | $2,069 |
Pick a wall mount when one wall has clear real estate and you don't care about the visible unit. Pick a cassette when wall space is contested (kitchens with cabinetry to the ceiling, offices with whiteboards or windows on every wall) or when you want the cleanest look in a public-facing room. Pick concealed when you want zero visible equipment and you have attic access for a slim-duct air handler.
Sizing a DIY Ceiling Cassette to Your Room
Cassette sizing is the same Manual J math as any other mini split — 20–30 BTU per sq ft for cooling, adjusted up for high ceilings, west-facing glass, occupant load, and equipment heat. The two cassette sizes we carry land like this:
| Room example | Floor area | Ceiling | Load profile | Recommended |
|---|---|---|---|---|
| 12×14 home office, one west window | 168 sq ft | 8 ft | 1 occupant + laptop | 9K cassette |
| 14×18 conference room, glass wall north | 252 sq ft | 9 ft | 6 occupants + screen | 12K cassette |
| 20×24 open kitchen-living | 480 sq ft | 9 ft | Range + 4 occupants | 12K cassette (tight) |
| 22×26 great room, cathedral 14 ft | 572 sq ft | 14 ft | West glass, 2-story heat | Two 9K cassettes (dual) |
| 30×30 commercial showroom | 900 sq ft | 11 ft | Front glass, equipment | Two 12K cassettes (dual) |
A 12K cassette tops out around 550 sq ft in good envelopes and 400 sq ft when there's significant solar gain. If you're past that, two 9K cassettes on a dual-zone outdoor unit outperform a single 18K because the throw is split — air reaches all four corners instead of stalling halfway across.
Use the free mini split sizing calculator for a Manual-J-style number if your room has unusual loads.
A Real Basement We Helped Outfit
One customer remodeling their basement decided against extending central heating and air into it and went all-ductless with ceiling cassettes instead. They put a 9K cassette in a 400 sq ft bedroom, a second 9K cassette in a 375 sq ft bedroom, and a larger 12K cassette in the family area to handle the rest of the space. Between the three units they comfortably condition roughly 1,500 sq ft of finished basement — with some help from the home's upstairs central system carrying part of the load.
It is a good example of how cassettes scale across a multi-room layout: size each enclosed bedroom to its own load with a right-sized 9K, then let a single larger cassette cover the open shared area. For a setup like this, two of the bedroom units can run off one dual-zone outdoor condenser to save on equipment and outdoor wall space.
What the Install Actually Looks Like
In a drop ceiling (T-bar grid): Pop two adjacent 24×24 tiles, slide the cassette body into the opening, hang it from the supplied threaded rods, route the refrigerant lineset and condensate drain through the cavity to the outdoor unit, set the decorative panel, and torque the quick connect fittings. Two people, 2–3 hours. No cutting, no patching.
In a drywall ceiling: Mark a 22.6×22.6 inch rough opening, locate joists, cut the drywall, frame a support cradle from 2x4 cleats between joists, hoist the cassette into place, fasten with the supplied brackets, run lineset and drain, drywall-patch the seams around the decorative flange. Two people, 4–6 hours plus drywall mud cure time. Budget an extra $150–300 in drywall materials and a finisher's time if you don't do that yourself.
A real-world heads-up from our install support: the thing customers underestimate most is working around the joists and framing already in their ceiling. People assume they can just shift the cassette over to dodge a joist, but a full-size cassette body is big — once you account for the framing that's already up there, finding a clear cavity large enough is often more work, more time, and more expense than it's worth. If your ceiling is tightly framed and you can't open up a clean run, that's usually the moment a wall mount becomes the smarter call.
Either way, the cassette uses the same pre-charged R454B lineset our wall and concealed units use — no vacuum pump, no EPA 608 license, no recovery machine. It is ordered alongside the system rather than bundled into it, in 16 to 75 ft runs. Quick connect fittings torque to spec with a standard wrench and the system is sealed and charged from the factory.
When a DIY Ceiling Cassette Is the Wrong Pick
We'll talk you out of a cassette if any of these apply:
- Cathedral or vaulted ceilings — there's no flat plane to mount the cassette flush. Wall mounts are correct here.
- Small bedrooms under 200 sq ft — the 9K cassette is more throw than the room can absorb and you'll short-cycle. A right-sized 9K wall mount handles the load and costs $800 less.
- No cavity access from above — if the ceiling is the underside of the roof deck (no attic) and you can't open it up, the cassette body has nowhere to live.
- Unconditioned attic with poor insulation around the unit — the cassette body in a 130°F attic loses efficiency. Either condition the attic or pick concealed-duct with the air handler in conditioned space.
When any of those apply, a wall mount or concealed-duct unit is the honest answer.
What's in the Box
Every Zone Air DIY ceiling cassette system ships with the cassette body, outdoor condenser, decorative grille panel, built-in condensate pump (no auxiliary pump needed), mounting hardware for the cassette and outdoor unit, wireless remote with 7-day schedule, and a 5-year parts / 7-year compressor warranty. The pre-charged R454B refrigerant lineset is ordered separately, in the length your run actually needs, from $229.99 per zone. Free shipping on every order, 30-day returns, live tech support 7AM–7PM MST during your install.
Find Your DIY Ceiling Cassette Mini Split
Four-way airflow, flush ceiling mounting, and a pre-charged quick-connect lineset in the length you need — in single-room, 2 zone, and 3 zone configurations. Browse the systems above, or size each room first with the calculator.