Are Mini Splits Easy to Install Yourself?
You priced out a contractor, saw the quote, and thought there had to be a better way. There is. Modern DIY mini split systems with pre-charged line sets have changed what a homeowner with a drill can do. But how easy it is depends on what you are working with — here is exactly what is involved, what you will need, and where the real savings come from.
Can a Homeowner Really DIY a Mini Split?
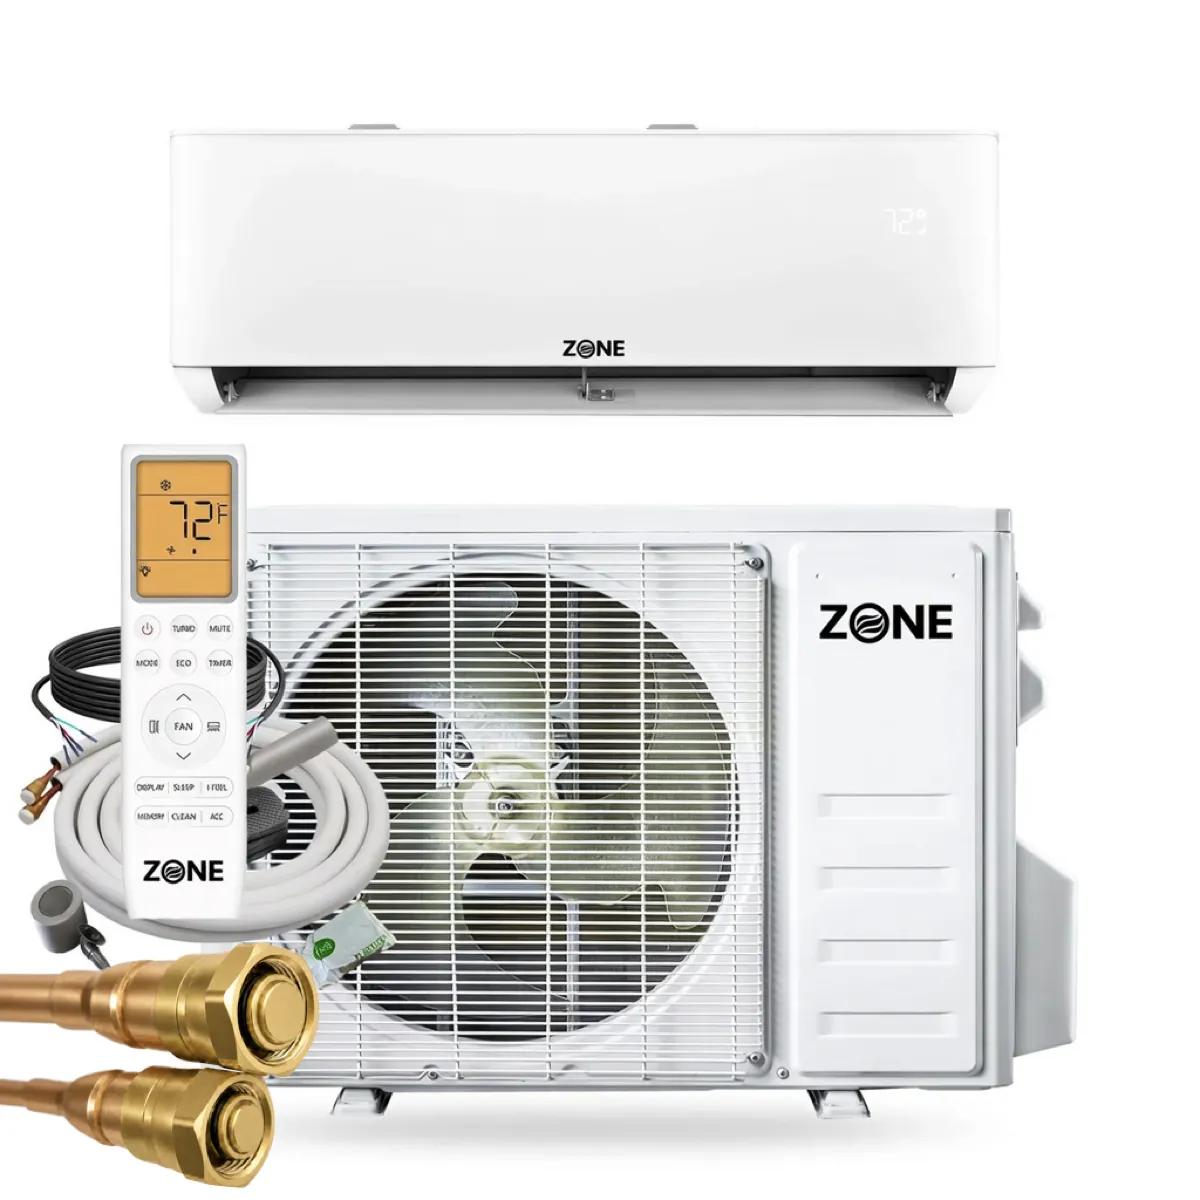
Yes — with the right system. A DIY mini split designed for homeowner installation, like Zone Air's quick-connect systems with pre-charged linesets, is realistically installable by anyone comfortable with basic tools and willing to follow instructions. Traditional systems that require a vacuum pump, a manifold set, and an EPA Section 608 license are a different story — those belong with a professional.
The difference comes down to one thing: whether you handle refrigerant yourself. Traditional installs make you evacuate moisture from the copper lines with a vacuum and micron gauge, then dial in the exact charge. Zone Air's DIY system removes that step entirely — the line set ships factory-sealed and pre-charged with R454B refrigerant, so you never open the sealed circuit.
Three things decide whether this job is genuinely "easy" for you:
Comfort with basic tools
A drill, wrenches, a level, and a ladder — the same kit you would use to mount a TV bracket or hang a cabinet.
Willingness to follow instructions
Every page, not just the pictures. The systems that are easy to install are the ones where you do not improvise.
Ability to lift and mount safely
The outdoor unit weighs roughly 40–100 lbs depending on size. A helper makes this part faster and safer.
Zone Air's DIY ductless system is designed to eliminate the hardest part of any mini split installation: evacuating and charging the refrigerant circuit. That single step is what turns a weekend project into a licensed-contractor-only job.
What Makes a Mini Split "DIY-Friendly"?
Traditional systems need a vacuum pump, refrigerant scale, and flaring tools — miss a step and you risk system failure or a voided warranty. A DIY mini split flips the model: the outdoor unit and line set ship pre-charged and capped, you mate them with quick-connect fittings, and the sealed circuit stays sealed. These are the design details that make it work.
Quick-connect fittings
Hand-tighten and torque to spec with standard wrenches — no flaring tools, no open refrigerant circuit.
Color-coded wiring
Labeled, color-coded leads so the indoor and outdoor units land in the right place the first time.
Wall-mount templates
Printed templates position the air handler and drill points so the bracket sits level and the drain runs downhill.
Step-by-step docs + video
Clear documentation written for first-timers, not certified techs — with video support for the tricky steps.
| Feature | Traditional mini split | Zone Air DIY |
|---|---|---|
| Tools required | Vacuum pump, micron gauge, manifold set, flare tools, refrigerant scale | Drill, wrenches, level, hole saw |
| EPA 608 license needed? | Yes | No |
| Refrigerant handling | You evacuate and charge the circuit yourself | Factory-sealed, pre-charged R454B — never opened |
| Typical install time | 6–10 hours (pro) | 3–6 hours (first-timer) |
| Warranty | Often requires a certified installer | Supports homeowner installation |
MrCool helped prove homeowners could pull off these installs without a contractor. Zone Air builds on that same DIY-first approach with a focus on cold-climate performance, US-based assembly and testing, and support for first-time installers.
Skills & Tools You Need
You do not need to be an HVAC tech. But you should be someone who has hung a shelf, mounted a TV bracket, or wired a basic light fixture without breaking a sweat. Here is what the job actually asks of you.
Drill + hole saw
Safely cut a 2.5–3.5" pass-through in an exterior wall.
Stud finding
Locate studs to mount the indoor unit securely.
Weather sealing
Seal the exterior penetration against water and pests.
Basic 120V/240V
Understand a basic circuit — or hire an electrician for that one step.
The tool kit you will want on hand
What a DIY Mini Split Install Actually Involves
The whole job breaks into three parts — mounting the indoor air handler, setting the outdoor unit, and connecting the pre-charged line set and power. Experienced DIYers move faster; most first-timers should plan for a half-day.
Choose the wall location and drill the hole
Pick an interior wall high in the room and near an exterior wall to keep the line set run short. Mark the plate with a level, then drill the 2.5–3" pass-through at a slight downward angle to the outside. That slope is critical — it lets the condensate drain instead of pooling in the indoor unit.
Hang the mounting plate and indoor unit
Anchor the plate into studs (or rated wall anchors) using the provided template, checking that it is level. Route the line set, drain hose, and wiring through the hole, then hang the air handler onto the plate — it should click into place.
Set the outdoor unit
Place the condenser on a level pad or wall bracket, with 12–24" of clearance on all sides per the manual. In cold climates, raise it above the expected snow line. Keep the service valves and electrical connections accessible.
Connect the pre-charged line set
This is where quick-connect fittings pay off. Mate the line set to the indoor and outdoor units with the provided couplers and torque to spec. Hold the minimum bend radius, never kink the copper, and the refrigerant stays sealed the entire time.
Wire the electrical (often the trickiest part)
Run a dedicated circuit, install a disconnect by the condenser, and land the labeled wires. 9K–12K units often run on 115V; larger units need a 208/230V circuit. Codes may require a permit — check locally. If this is beyond your comfort level, bring in a licensed electrician for this step only.
Commission the system
Open the service valves, power on, and run both cooling and heating. Listen for unusual noises, check connections, and confirm air is flowing at the expected temperature. Take your time here — rushed commissioning is where problems hide.
Want the full walkthrough with torque specs and drill angles? See the step-by-step DIY install guide.
When a Full DIY Install Is a Bad Idea
Even with an easy-install system, a few situations are worth handing off — fully or partially.
Tough physical setups
Three-story runs (where you may need an oil trap), thick masonry needing a core bit, or no safe ladder access. The risk is not worth the savings.
Heavy lifting or heights
If hoisting a 70–100 lb condenser or working a tall ladder is unsafe for you, pay for a helper or a crew for that portion.
Complex multi-zone layouts
Balancing three or four zones with long runs takes careful planning. A Manual J calculation gets the sizing right.
Electrical beyond your comfort
The most common point to bring in a pro. You do not want to pay to fix a wiring mistake later.
DIY vs Hiring a Contractor
Performance is similar either way when the job is done right — the refrigerant charge is factory-set, and the SEER2 rating does not change based on who tightens the fittings. What changes dramatically is what you pay.
Total project cost, both routes. Full line-by-line breakdown below.
| DIY with Zone Air | Professional install | |
|---|---|---|
| Equipment | $1,899–$3,999 | $1,000–$3,500 |
| Labor | Your time (3–6 hrs) | $350–$600 per unit |
| Optional electrician (230V) | $300–$600 if needed | Included |
| Total project cost | ~$1,900–$4,000 | ~$4,500–$7,000 |
| Scheduling | This weekend | Days to weeks out |
The savings come almost entirely from labor — DIY installation can keep $3,000–$5,000 in your pocket. DIY systems also avoid expensive ductwork, a major advantage over traditional HVAC replacements in older homes, garages, or a new shop where running ducts is impractical. Efficiency still depends on proper sizing and a clean install: Zone Air systems reach up to 24 SEER2, comparable to or better than many pro-installed brands.
A DIY install does not mean a cheap build. Zone Air's warranty — 5-year parts and 7-year compressor (with registration within 90 days), plus a 45-day return window — is structured to support homeowner installation as long as you follow the instructions.
Efficiency Is the Same — No Matter Who Installs It
SEER2 measures cooling efficiency, and it is set by the equipment, not the installer. Zone Air units reach up to 24.
How to Choose the Right DIY Mini Split
Sizing matters as much as ease of install. An oversized unit short-cycles and wastes power; an undersized one runs constantly and never reaches your target. Use these BTU ranges as a starting point — insulation, ceiling height, windows, and climate all shift the math.
Single-zone vs multi-zone
Single-zone
1 air handler + 1 condenser. One room — garage, bedroom, bonus space.
Dual-zone
2 air handlers + 1 condenser. Independent control in two rooms.
Three-zone
3 air handlers + 1 condenser. Three rooms on one outdoor unit.
Multi-zone
Up to 5 air handlers + 1 condenser. Whole-home, room-by-room control.
For independent control across several rooms, a multi-zone system beats oversizing one big single-zone and hoping it heats or cools evenly. Zone Air offers Energy Star and cold-climate-rated systems suitable for winters that dip below freezing — rated down to −13°F — with WiFi app control and scheduling so you can tune things from your phone. Not sure where to land? Try the sizing calculator or read what size mini split do I need.
Zone Air vs Other DIY Brands
Brands like MrCool popularized the DIY mini split, and all legitimate DIY brands use pre-charged line sets. Zone Air focuses on the details that matter to a first-time installer: forgiving quick-connect hardware, documentation written for homeowners rather than HVAC pros, and US-based support.
| Feature | Zone Air | MrCool DIY |
|---|---|---|
| Max SEER2 | Up to 24 | Up to 23.6 |
| Cold-climate rating | Down to −13°F | 5°F standard (−22°F Hyper Heat) |
| Pre-charged quick-connect linesets | Standard on all DIY models | Standard on DIY line |
| Return window | 45 days | 30 days |
| Support | US-based, Salt Lake City (9–5 MST) | US-based (Kentucky) |
Zone Air is direct-to-consumer, which is part of how the labor cost a homeowner would otherwise spend on installation stays in your pocket. The install itself is similar across DIY brands — what tends to differ is the documentation and support experience, which Zone Air builds around people doing this for the first time.
DIY Mini Split Installation FAQ
The questions homeowners ask most before tackling their first install.
Are mini splits easy to install yourself?
With a DIY system that ships with pre-charged line sets and quick-connect fittings, yes — many homeowners finish a single-zone install in an afternoon. Traditional systems that require a vacuum pump, manifold gauges, and an EPA Section 608 license are not beginner-friendly. The key is choosing a system designed for homeowner installation.
Do I need a vacuum pump or gauges?
Not with a pre-charged Zone Air DIY system. The line set ships factory-sealed, so you never open the refrigerant circuit — no vacuum pump, manifold set, or micron gauge. Traditional flare-connection systems do require all of that equipment.
Can I use a DIY mini split to heat as well as cool?
Yes. These are heat pumps, not just air conditioners. Zone Air cold-climate models heat efficiently down to −13°F, so the same unit cools in summer and heats in winter across most of the country.
How long will a DIY mini split last?
A mini split can last 15–20 years with basic maintenance — cleaning the filters monthly, keeping the condenser clear of debris, and checking the condensate drain periodically. It is a small time investment for a long-lived, efficient system.
What if I want to add more rooms later?
You can add another single-zone system for a new space like a garage or shop, or plan ahead with a multi-zone setup from the start. Both work — it comes down to your layout and budget.
What makes a Zone Air system easier to install?
Pre-charged R454B linesets with quick-connect fittings, labeled wiring, wall-mounting templates, and step-by-step instructions, backed by US-based live support (9–5 MST). The system is engineered so you never handle refrigerant or work through complex HVAC procedures. Every model is also covered by a 5-year parts and 7-year compressor warranty (with registration within 90 days) and a 45-day return window.
If You Can Hang a Cabinet, You Can Install a Mini Split
Pre-charged linesets, quick-connect fittings, and documentation built for first-timers — plus plug-in 115V models and dual- and multi-zone bundles. See what a weekend project can do for your comfort and your energy bills.