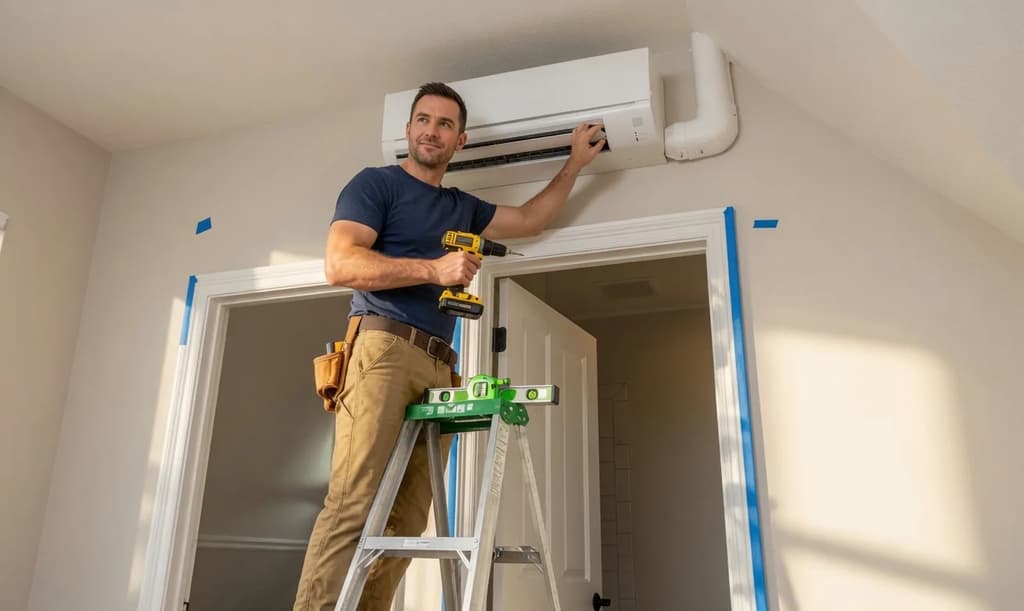
A 110V / 115V 9,000 BTU DIY mini split is a ductless heat pump system that runs on a standard household circuit and arrives with factory-sealed refrigerant lines, so you can install it yourself without touching refrigerant, brazing copper or calling an HVAC contractor. If you've been searching for a precharged installation guide or a true plug-in mini split option, this article walks you through everything from specs and electrical requirements to the full step-by-step process.
110V / 115V 9K DIY Mini Split Overview
A precharged 9,000 BTU mini split air conditioner has factory-sealed refrigerant lines and quick connect fittings, so the homeowner never handles refrigerant directly. You don't need a vacuum pump, and you don't need EPA Section 608 certification. You won't have to deal with any trial and error either.
Zone Air makes a 110V / 115V DIY mini split with a true plug-in option: an optional 115V cord kit that lets you plug the outdoor unit into a dedicated outlet where local code lets you. You can see the full list of products and the current prices at zone-air.com.
This is what the 9K 115V model has:
- Cooling output: 9,000 BTU/h
- Heating capacity: rated at 9,400 BTU/h, and it is rated to heat down to −13°F
- Efficiency: 23 SEER2, AHRI Certified
- Refrigerant: R-454B (low-GWP, EPA-compliant)
- Included line set: 16 ft, and it already comes pre-charged, with quick connect fittings
- Room size: rated for 250–450 sq ft (this covers bedrooms, home offices and garages)
- Power: this unit needs its own dedicated 15A single-pole breaker on a standard 115V circuit
Zone Air offers a 5-year parts warranty and a 7-year compressor warranty, and no registration is needed for warranty coverage. DIY installation does not void these warranties when you follow the manual. Two people can typically complete a first-time install in about 4–6 hours with standard tools.
What Is a 110V / 115V DIY Mini Split?
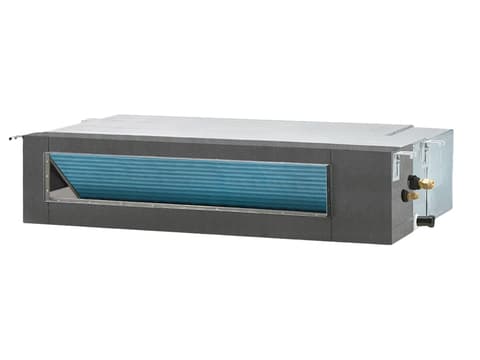
A ductless mini split heat pump has one outdoor condenser and one indoor air handler. These are connected by lines that carry refrigerant and are insulated, plus a wire for communication. There's no ductwork to run through walls or attics, so these systems can work well in spaces where traditional HVAC can't reach.
"110V" and "115V" are the names that people use for circuits in a standard North American home (the actual voltage is 120V). That makes these systems ideal for older homes, apartments and detached garages that don't have 230V service available.
In cooling mode, the system can extract heat from indoor air and move it to the exterior. In heating mode, the process is flipped, pulling heat energy from outdoor air and delivering it inside. Inverter technology lets the compressor ramp up and down rather than cycling on and off, so you can save money on electricity and keep the room temperature steady.
What you'll find in the box: there is an outdoor unit, an indoor wall-mounted air handler, a pre-charged line set with quick connect fittings, a communication cable, a mounting plate, a drain hose and wrapping tape, a remote control and hardware. Because the system is precharged, you can install a DIY mini split without the need for professional vacuum purging. When you install a DIY mini split, you usually do not need any specialized HVAC certification.
Why a 9,000 BTU 115V System Instead of 230V?
The two biggest decisions you'll need to make for your DIY mini split are sizing and voltage. With a 9,000 BTU 115V unit, you can cover a single room up to about 450 sq ft, but if you go with 18,000+ BTU configurations, you usually need 208/230V power and a professional to install it.
Practical reasons to prefer 115V:
- No panel upgrades. Running on a dedicated 15A circuit, a 9K or 12K 115V mini split is something most homes already have room for.
- Permitting can be simpler. Many local areas treat a pre-charged 115V unit on a new dedicated circuit as an electrical-only permit, but you should check with your local building department first.
- Lower electrical cost. You can avoid hiring an electrician to run a new 230V line out to the outdoor unit.
Modern 115V models reach about 23 SEER2, and that is only slightly below similar 230V versions, so real-world energy cost differences are small. Zone Air's own 9K 230V unit is rated 24 SEER2, the highest of the pre-charged quick-connect brands compared here, so 230V is the pick if you already have the circuit and want every last point of efficiency.
A 9K 115V unit works well in finished basements, bonus rooms, detached home offices, tiny homes and ADUs when running new 230V is expensive. If you need to condition spaces over 600 sq ft, open floor plans or multiple rooms from one outdoor unit, 230V is still the better choice.
Zone Air 9,000 BTU 115V DIY Mini Split Overview
Of the brands compared here, Zone Air is the 110V / 115V DIY mini split to buy if you want a true plug-in option: its 115V units can plug into a dedicated 15A outlet with the optional cord kit, where MRCOOL's 115V DIY units are hardwired. The system has everything you need to install one room.
The Zone Air 9K unit is rated for up to 450 sq ft. It works for a primary bedroom, or a baby's room or a home office, or a home gym or a gaming room. What are the key specs? You can find them on the Zone Air spec sheets:
Prices are from the 9K and 12K product pages as of October 2026.
Comfort features include multiple fan speeds, auto mode, dry (dehumidify) mode, sleep mode, timer scheduling and dual-axis motorized louvers. The indoor unit operates at 30 dB(A) in mute mode, quieter than a whispered conversation.
Control options: IR remote, LED display, built-in Wi-Fi with app control, and Alexa or Google Home voice control. Zone Air includes a 16 ft pre-charged line set in every single-zone wall-mount kit, and of the brands compared here it is the only one (as of October 2026) that cuts the pre-charged line set to the exact length you measure, any whole foot from 5 to 75, for more complex layouts. Verify current price and stock at zone-air.com.
Pre-Charged Quick-Connect Technology (No Vacuum Pump DIY)
"Pre-charged" is the feature that makes true DIY possible. It eliminates the vacuum pump step and refrigerant handling that normally require EPA certification and expensive equipment.
Zone Air's sealed quick connect fittings work like this: the line set and outdoor unit arrive sealed at the factory, and refrigerant is only released when you tighten the mated fittings to the specified torque value. No cutting, flaring or brazing of copper on site. No gauges or nitrogen are required for a standard single-zone install. No vacuum pump or refrigerant gauges are needed.
The manufacturer's installation manual provides exact torque values and the correct sequence for each fitting. Following these instructions preserves your warranty and ensures performance.
First-time installers need standard tools only: a drill, a 3-inch hole saw and two adjustable wrenches are the critical items (a torque wrench is preferred but not required), along with a level, stud finder and basic electrical hand tools. The line set can be custom cut from 5 to 75 feet, and the 25, 33, 50 and 75 ft sets are each one continuous factory-sealed run with no field joint, so you can order the exact length your layout requires and avoid excess coils of copper behind the outdoor unit. MRCOOL, by comparison, ships fixed 11.5, 16, 25, 35 and 50 ft sets, joins two sets with a coupler past 50 ft, and has you coil the excess.
Electrical Setup for 110V / 115V Dedicated Circuit and Plug-In Option
All electrical work must follow local code. If you're unsure about any step, hire a licensed electrician. Confirm local building codes and permit requirements before installation of mini splits.
A 9,000 BTU 115V mini split requires a dedicated 15A, single-pole breaker. Use a dedicated 15A circuit with 14/2 copper cable run to a disconnect near the outdoor unit. Installation of a disconnect box near the outdoor unit is often required by code.
Power always lands at the outdoor condenser. A multi-conductor communication cable then connects the outdoor unit to the indoor air handler. Electrical wiring should comply with local codes and manufacturer's guidelines at every connection point.
Zone Air's true plug-in option is an optional 115V cord kit (6 ft, 12 AWG, NEMA 5-15P plug, rated 15A/125V) that allows connection to a dedicated 15A GFCI outlet where local code permits. No extension cords or shared receptacles are allowed. Using a shared circuit can trip breakers during compressor startup and is unsafe.
A 9K 115V inverter system stays within the 15A circuit it is specified for; the exact electrical data for your unit is printed on its spec sheet and nameplate. Route the power cable along the exterior wall, mount the disconnect within sight of the outdoor unit, and make terminations following the wiring diagram in the manual.
Step-by-Step 9,000 BTU DIY Installation Process
The install breaks into clear phases: planning, mounting indoors, drilling the wall, routing the line set, setting the outdoor unit and final connections.
Planning: Confirm room size fits within the 250–450 sq ft range. Choose an interior wall near studs. Avoid structural beams and plumbing. Check maximum line set length and vertical separation limits from the spec sheet (Zone Air's 9K allows 33 ft of vertical lift between units).
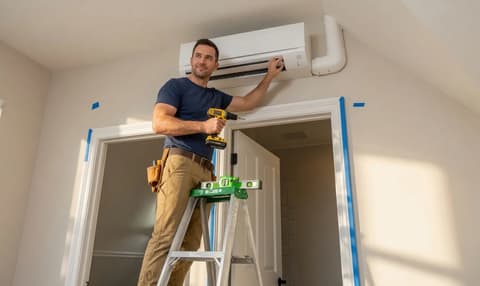
Indoor unit: Attach the mounting plate level to studs. Indoor units must be installed 6 to 8 inches below the ceiling for proper airflow. Mark the hole for the line set bundle. A 3-inch hole saw (3.25 inches for clean clearance) is what the manufacturer calls for. Drill slightly downward toward the exterior. Proper drainage slope is critical to prevent water pooling inside the indoor unit. Feed refrigerant lines, communication cable and drain hose through the wall together.
Outdoor unit: Place on a solid, level pad or wall bracket. Outdoor units should have at least 6 inches of clearance on all sides for airflow. Consider snow line and flood risk in your climate. Added weight-bearing support prevents tipping in high winds.
Line set routing: Carefully uncoil the pre-charged line set without kinking the copper. Keep bend radiuses gentle and protect the insulation along the entire length.
Connections: Connect the quick connect fittings at both ends. Tighten with a torque wrench to manufacturer-specified values. Open the service valves on the condenser.
Testing: Check for leaks with a soap solution on all fittings. Power up the system. Run a cooling and heating test cycle. Verify that condensate drains properly away from the foundation. Add line-set covers and seal the wall penetration for a clean finish.
Performance and Heating in Cold Weather
A 9,000 BTU 115V heat pump is designed for year-round comfort, not just summer cooling. Both the Zone Air 9K and 12K models operate down to −13°F for heating, and Zone Air units maintain heating output in cold climates thanks to inverter compression technology. That −13°F floor is the same as MRCOOL's standard DIY 5th Gen and 18° lower than MRCOOL's Easy Pro, which heats to 5°F. Higher-tier MRCOOL DIY models are rated lower. On the hot end, Zone Air is rated to cool in outdoor temperatures up to 131°F, where MRCOOL publishes 122°F.
At 5°F, the Zone Air 9K's published COP2 is 2.1 (3.81 at 47°F), meaning the system still delivers about 2.1 watts of heat for every watt of electricity consumed, far more efficient than electric resistance heaters at a 1:1 ratio. In extreme cold, heating capacity declines gradually. Below −13°F, a backup heat source may be needed.
During defrost cycles in winter, expect the outdoor unit to produce visible steam and temporarily pause warm air delivery. Water dripping from the outdoor coil should be routed away from walkways.
Everyday comfort benefits include very quiet operation, steady temperature from inverter modulation, and improved humidity control compared with window units. At 23 SEER2, you'll see noticeably lower power bills versus older units in the 17–19 SEER range, and a lot less change in room temperature throughout the day.
Maintenance is simple: clean washable filters every 4–6 weeks, keep the outdoor coil clear of leaves and snow, and check that the condensate drain isn't clogged. If error codes appear, Zone Air provides live technical support from 8 AM to 6 PM MT, plus an install video library and a written DIY manual.
Choosing the Right Size: 9,000 BTU vs. 12,000 BTU and Beyond
Getting the size right is essential if you want quiet operation, good humidity control and a long life out of the equipment. An oversized unit will short-cycle and leave the room damp.
These ranges assume you have average 8–9 ft ceilings and decent insulation. There are several factors that can push you toward a larger size. You might need a bigger unit if you have high ceilings, west-facing glass, poor insulation, frequent door openings or heavy heat gains from equipment.
A 9K 115V unit pulls less current than a 12K unit does. That is something that matters on older electrical panels with limited spare capacity. Spaces that are over about 600 sq ft or that have multi-room floor plans often call for 18,000 BTU or multi-zone systems that need 208/230V and professional design. Use a BTU sizing calculator and err toward slightly higher capacity in very cold climates or in rooms that get a lot of sun.
For comparison, MRCOOL's DIY 5th Gen 9K rates 23.6 SEER2, a bit above Zone Air's 23 at 115V. The MRCOOL DIY 5th Gen line carries a 5-year parts and 7-year compressor warranty with no registration needed, the same main term as Zone Air. On price, MRCOOL's 12K 115V unit was listed at about $2,359 at Home Depot in September 2026, against the Zone Air 12K at $1,999.99 (23.0 SEER2 versus MRCOOL's 23.5), so Zone Air is about 15% less for a system that also includes the cord-kit option.
Where to Buy a 110V / 115V DIY Mini Split from Zone Air
Not all 115V units are truly DIY-ready or pre-charged, so check features carefully before you order. Some brands still require brazing or vacuum purging even though they market themselves as DIY.
Buy directly from zone-air.com for official specs, up-to-date pricing, and access to custom pre-charged line set lengths from 5 to 75 ft. You'll also find cord kits and accessories that ship together with your unit. Zone Air sells direct, so support and terms come from the manufacturer: free shipping to the lower 48 states, 1–2 business days to process and 2–5 in transit, and 30-day returns on uninstalled units (RMA required). Units are built from globally-sourced components with final assembly, testing, and inspection in the USA.
Before checkout, confirm these items on your buying checklist:
- Voltage: 115V
- Breaker size: 15A dedicated
- Cooling output: 9,000 BTU
- SEER2 rating: 23 or higher
- Minimum outdoor heating temperature: −13°F
- Line set that comes with the unit: 16 ft (or you can place a custom order)
Zone Air backs every unit with a 5-year parts warranty and 7-year compressor warranty, with no registration needed. Document your unboxing and initial power-up with photos or video to simplify any future shipping damage claims (report damage within 48 hours of delivery) or warranty support.
A 9,000 BTU 115V pre-charged DIY mini split from Zone Air offers the right combination of easy installation, efficient cooling output and reliable heat pump performance for most single-room projects. Whether you're upgrading bedrooms, converting a garage or adding climate control to a detached office, this is the system that lets you skip the contractor and get comfortable in an afternoon.
Specs and warranty terms are manufacturer-published as of October 2026, subject to change; verify before purchase. MRCOOL® is a trademark of its owner; Zone Air is not affiliated with or endorsed by MRCOOL.
Related reading: How to install a mini split yourself, 110V DIY mini splits, 9,000 BTU DIY mini splits and what size mini split do I need.